
Pollen protection WinClip STYLE pollen for plastic windows
Our delivery includes:
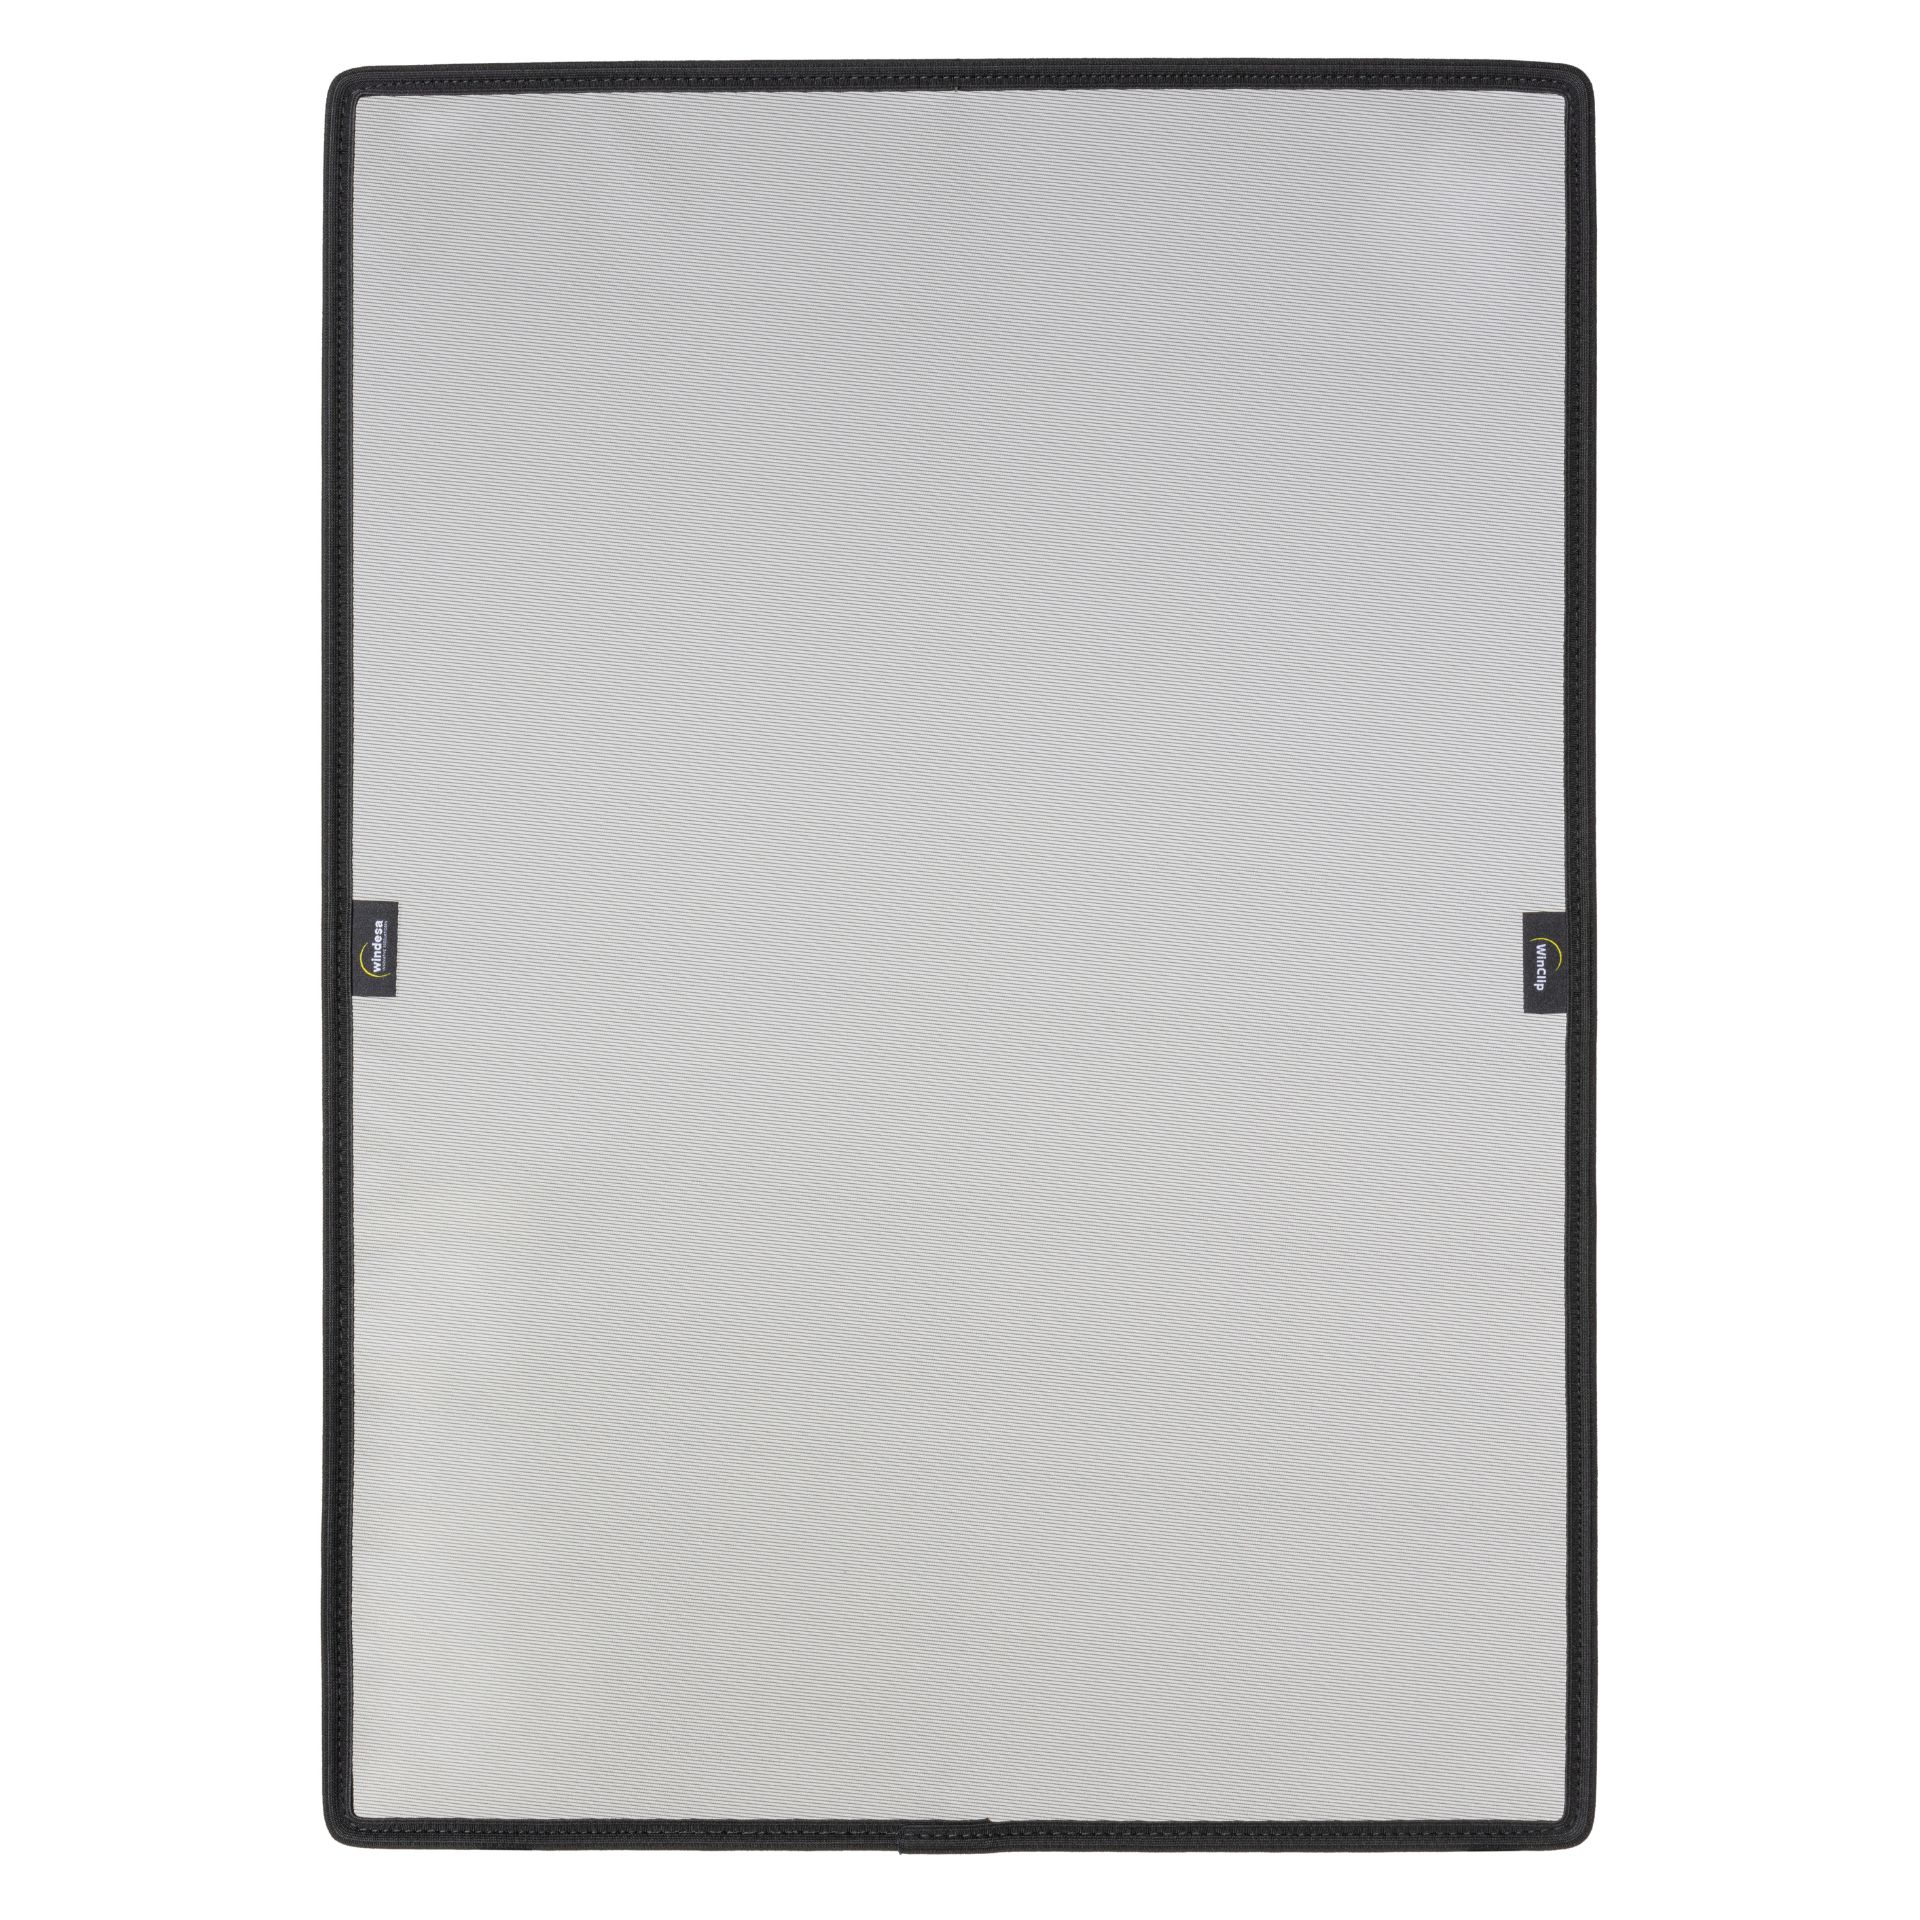
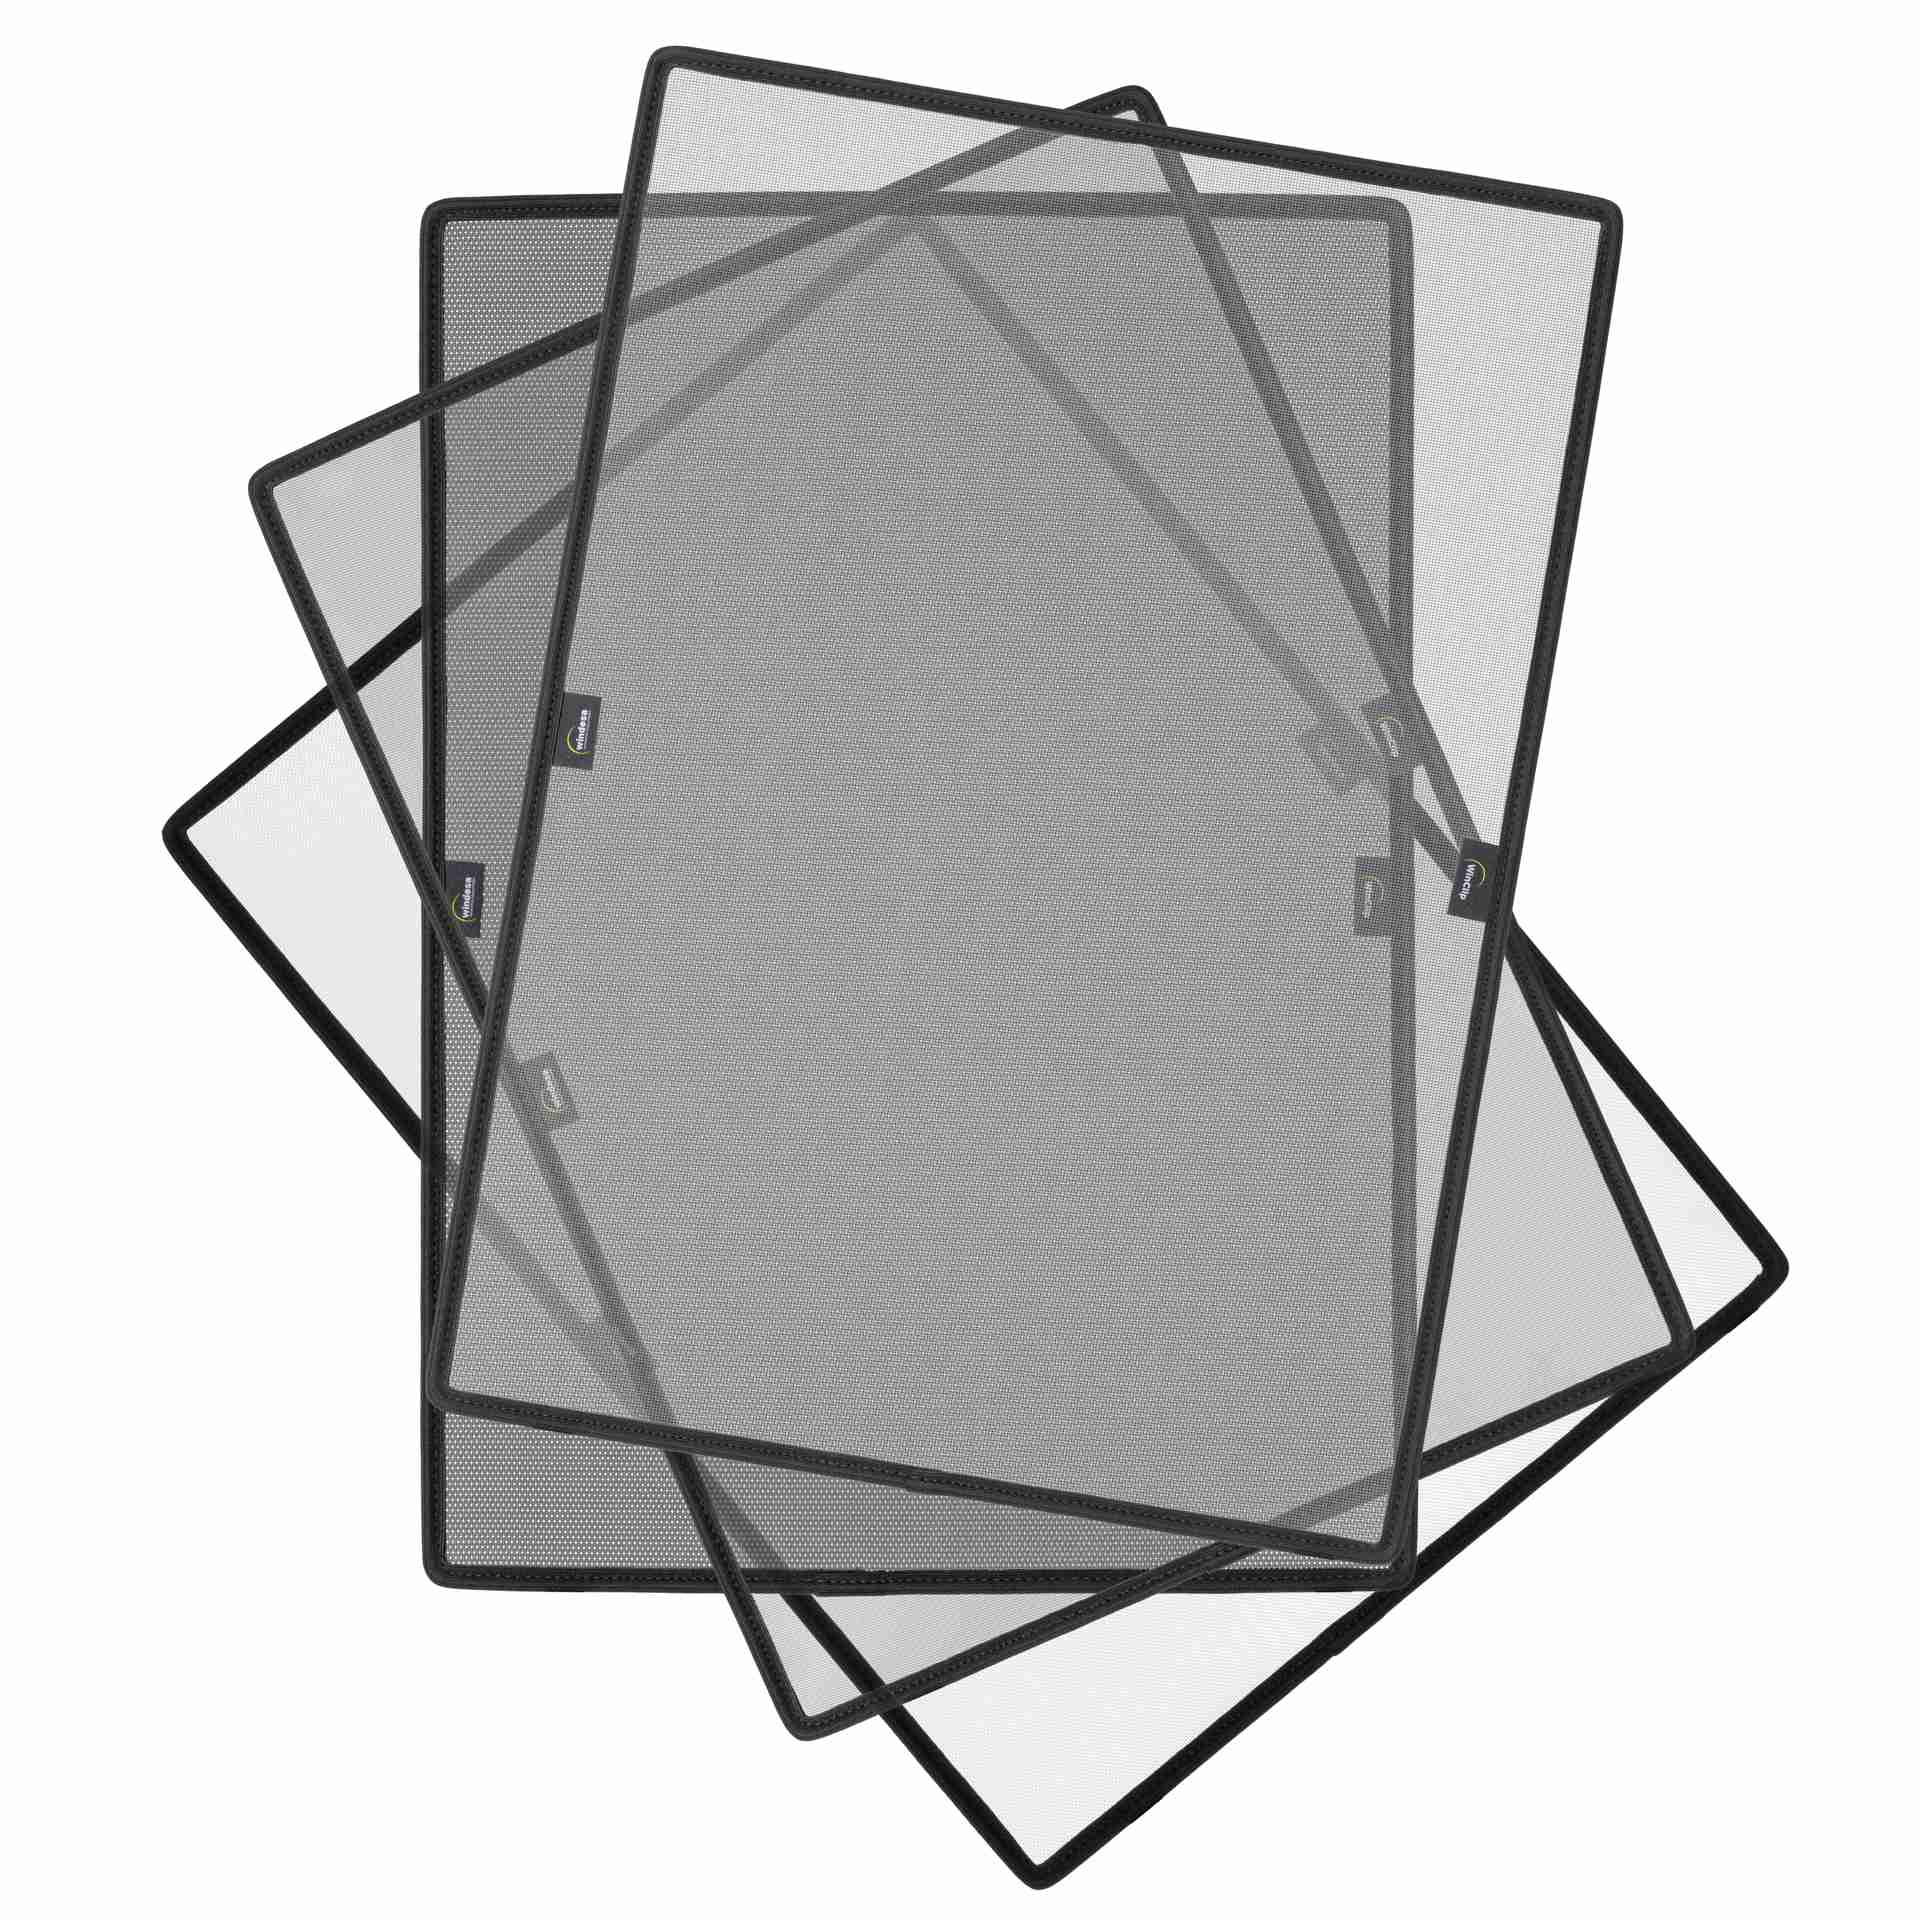
- WinClip pollen protection frame made according to your measurements
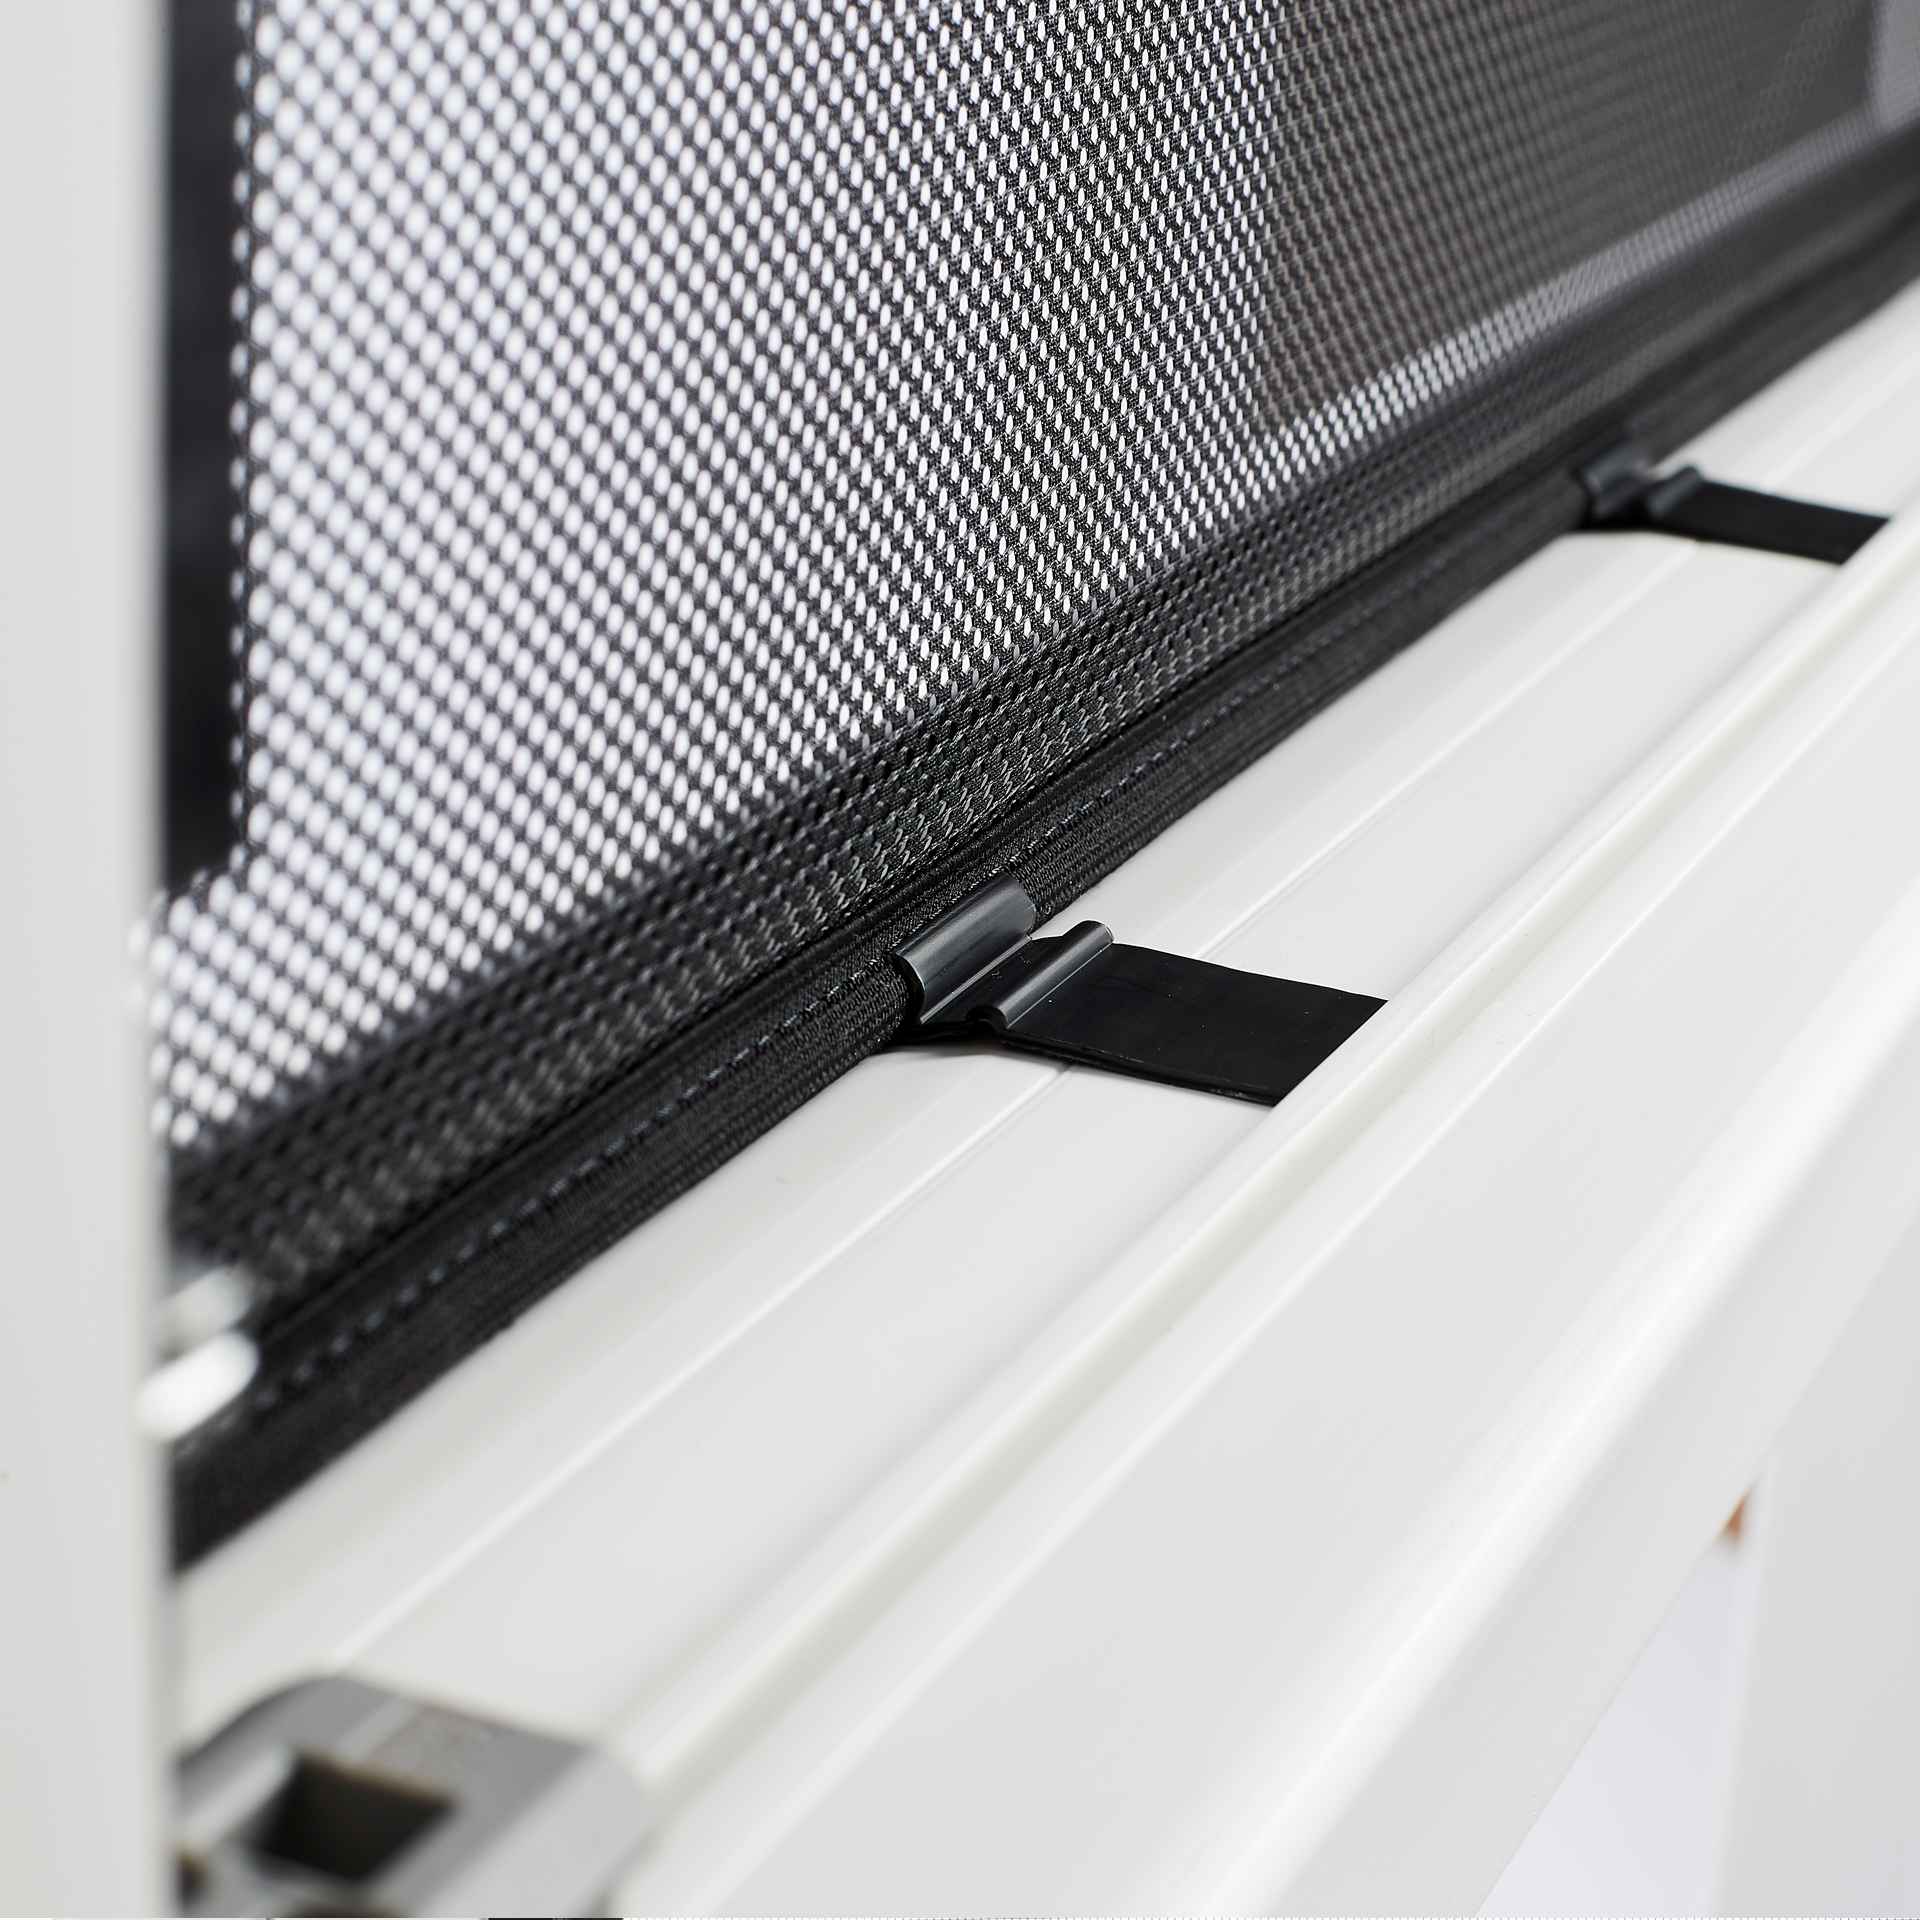
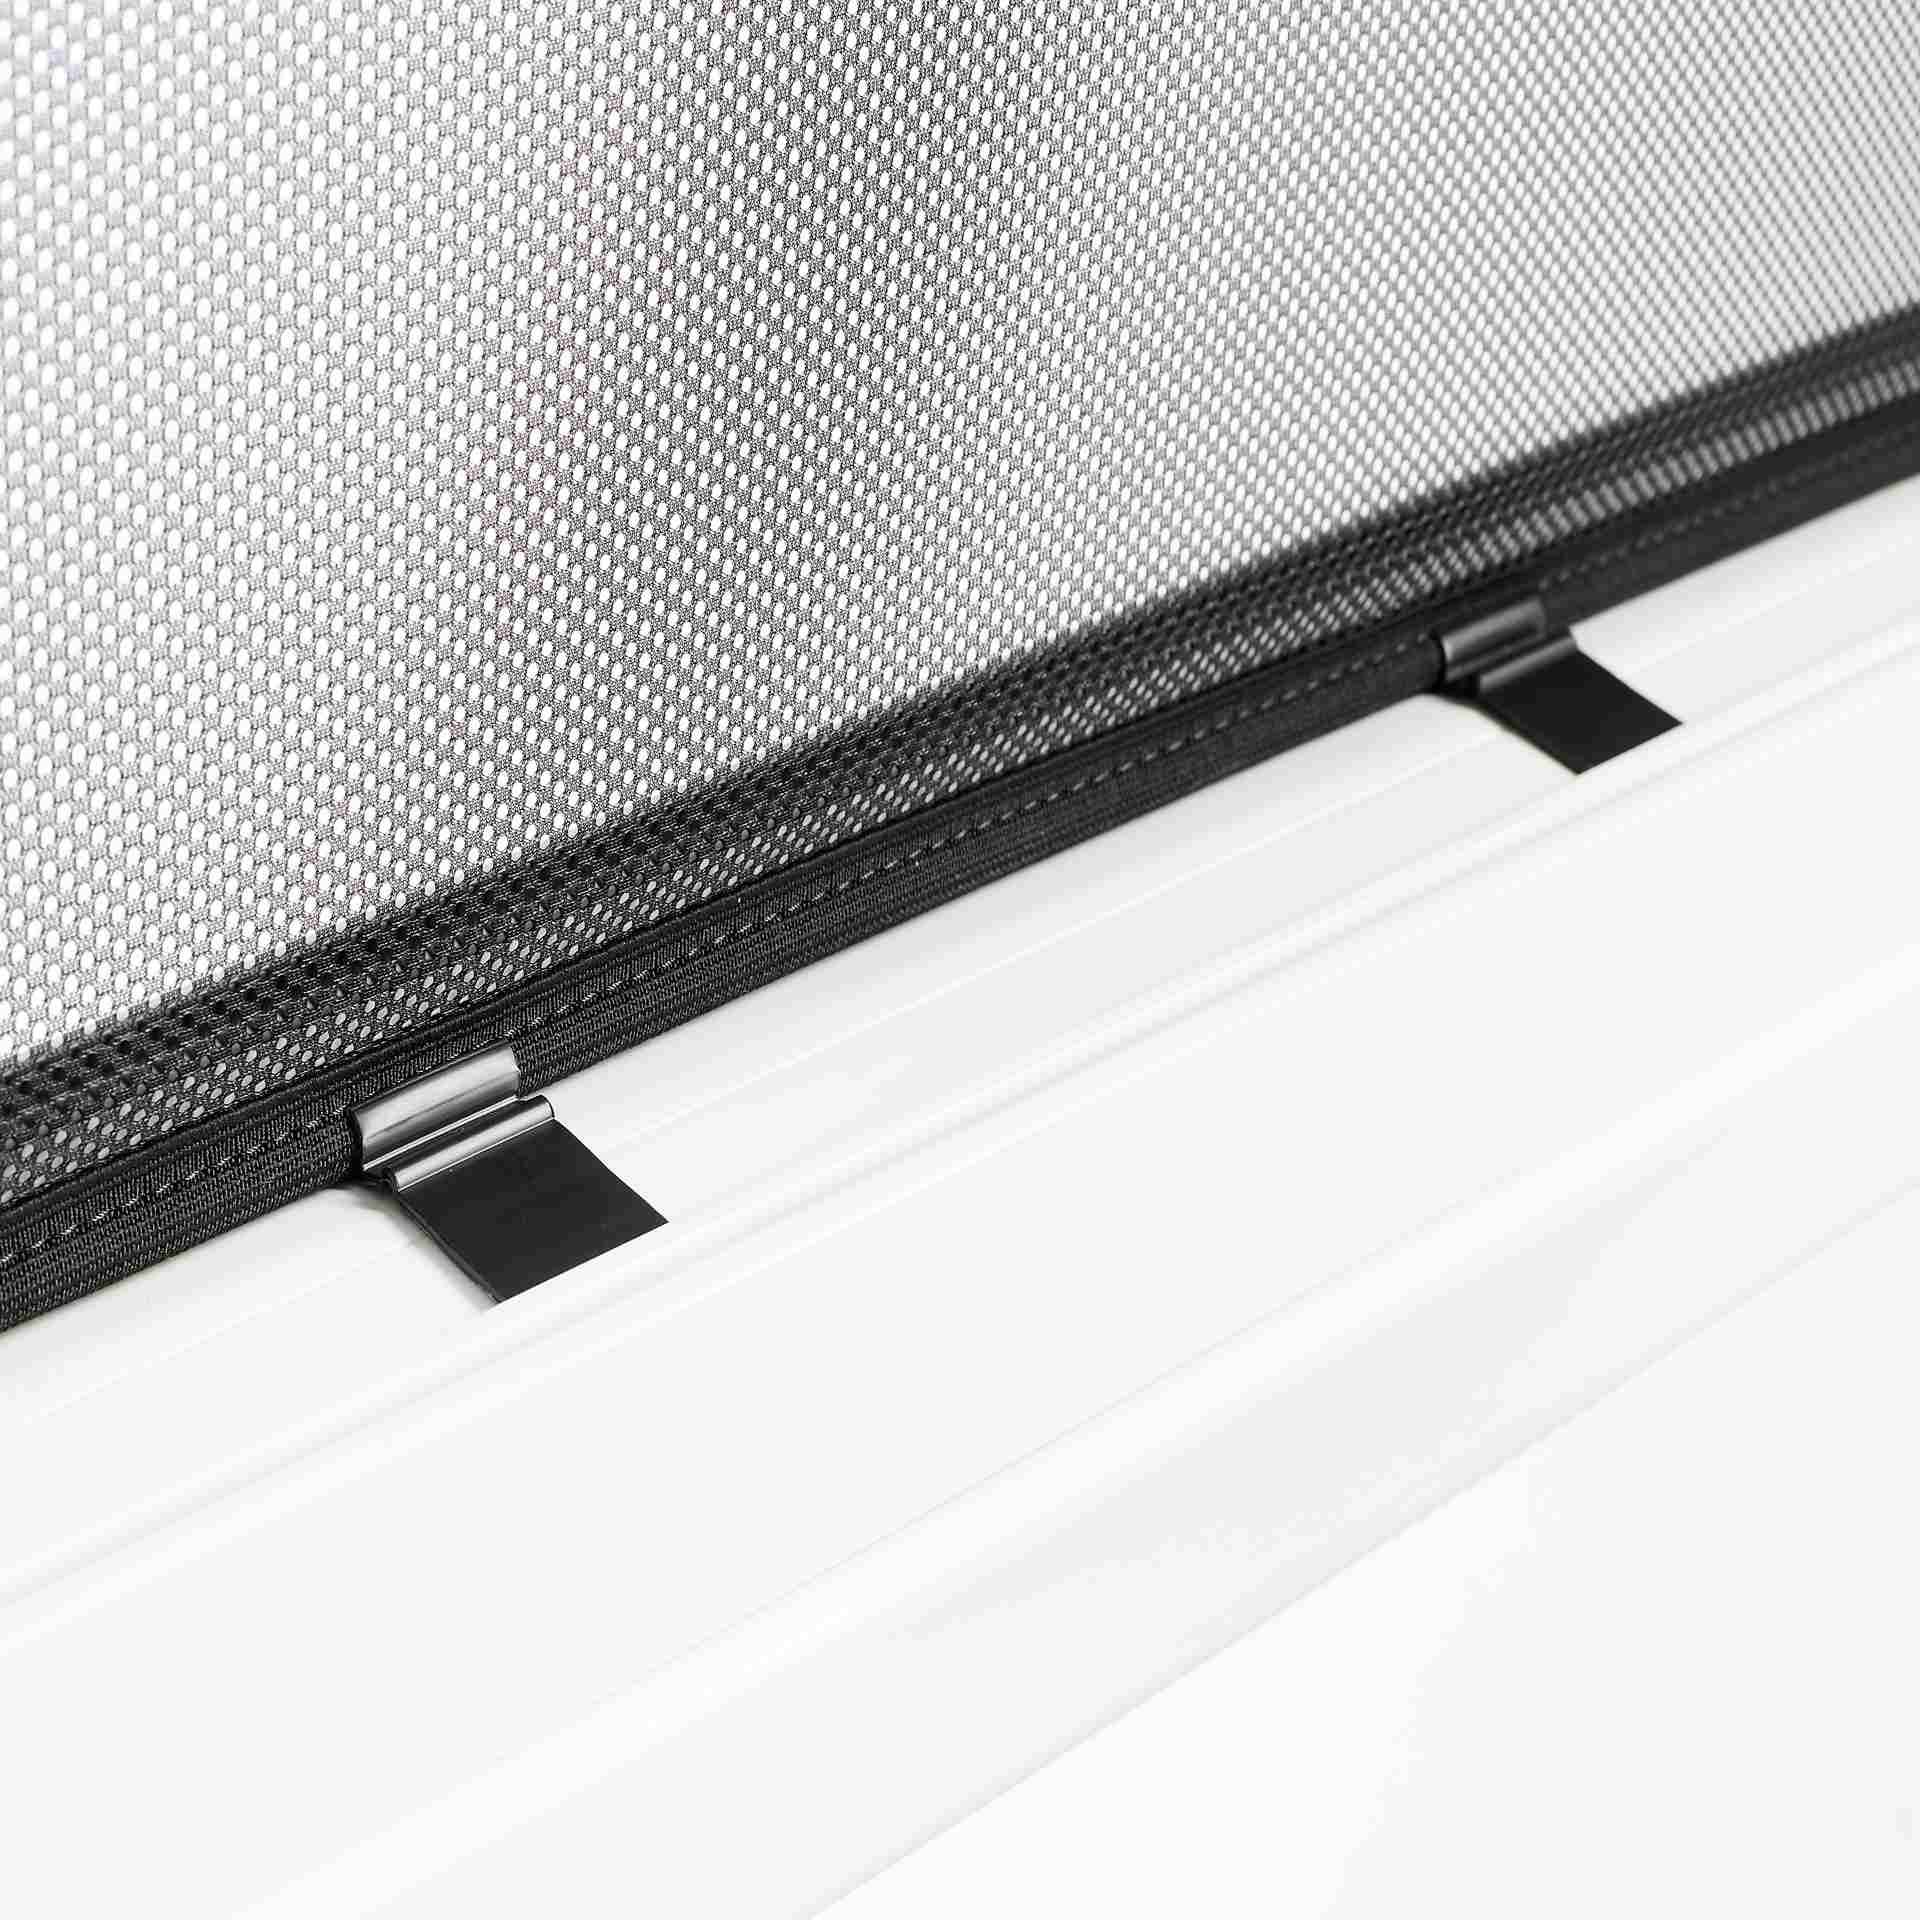
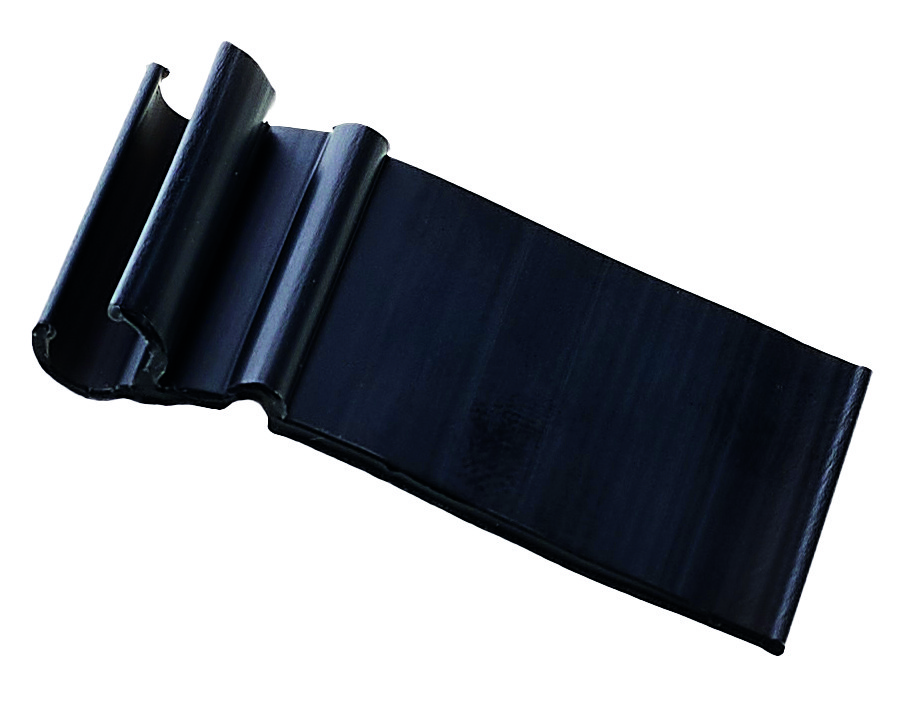
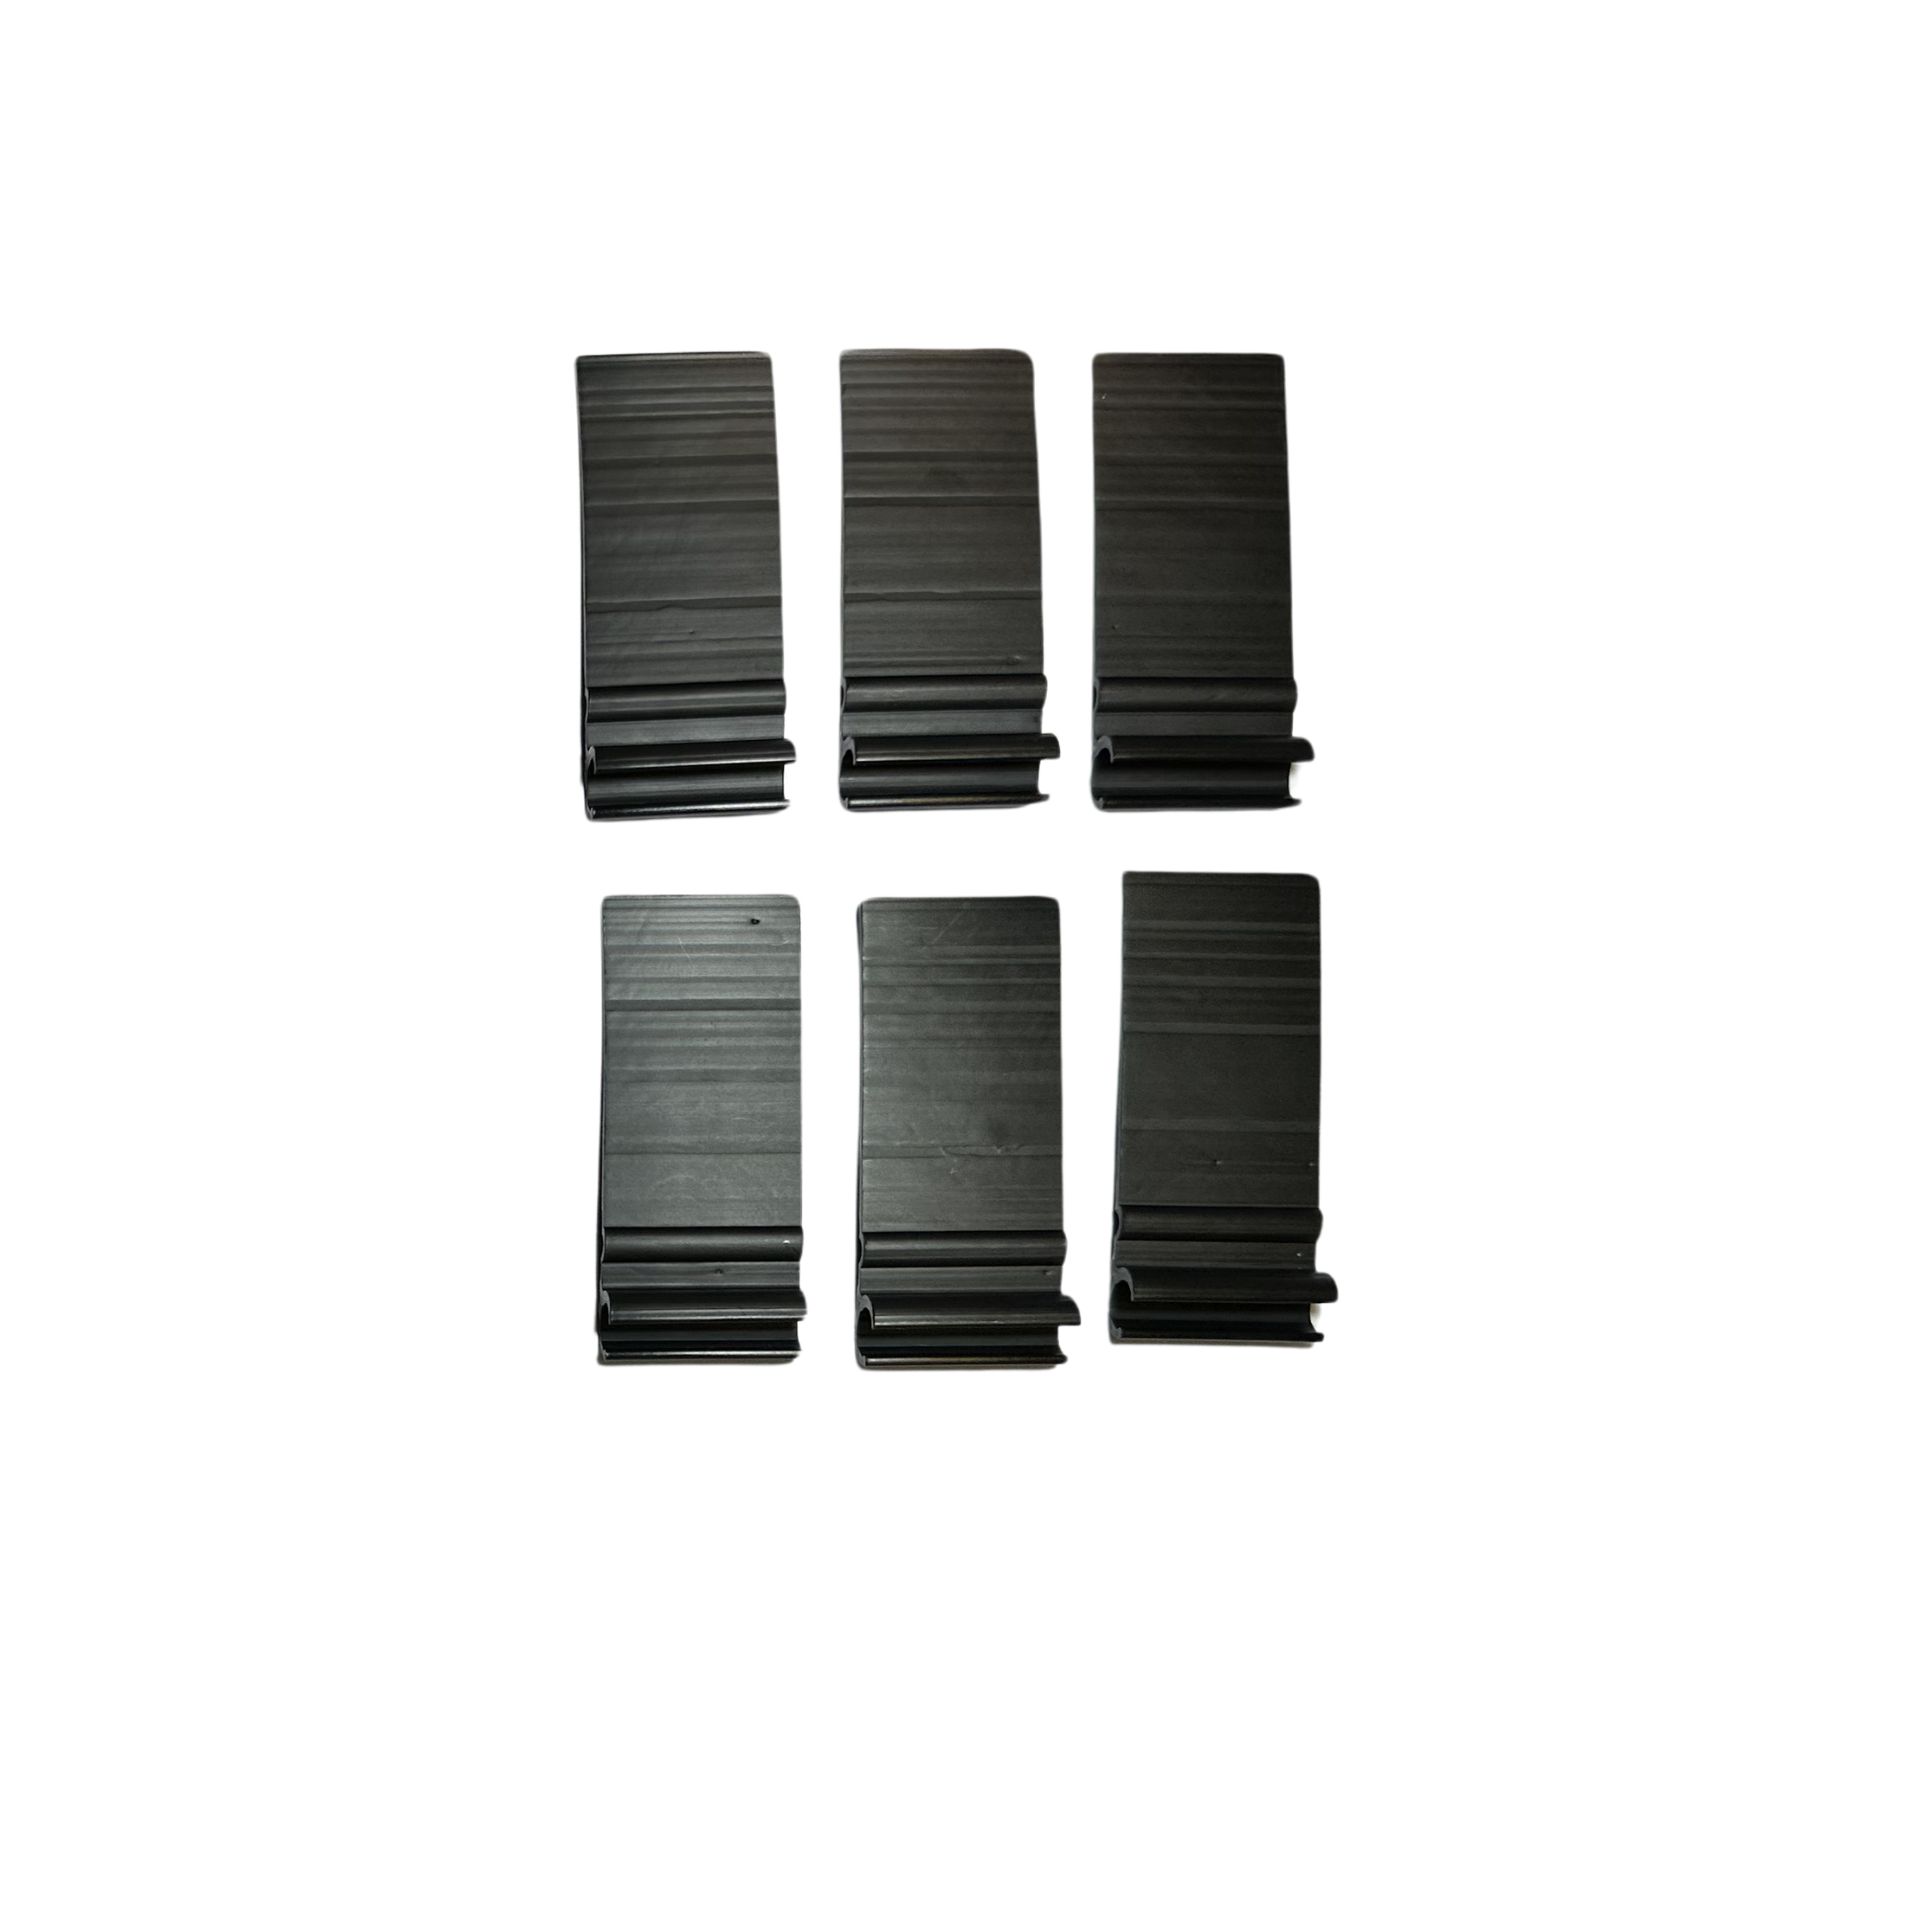
- 6-12 holders per part depending on size plus spare holder
- assembly instruction
€49.00
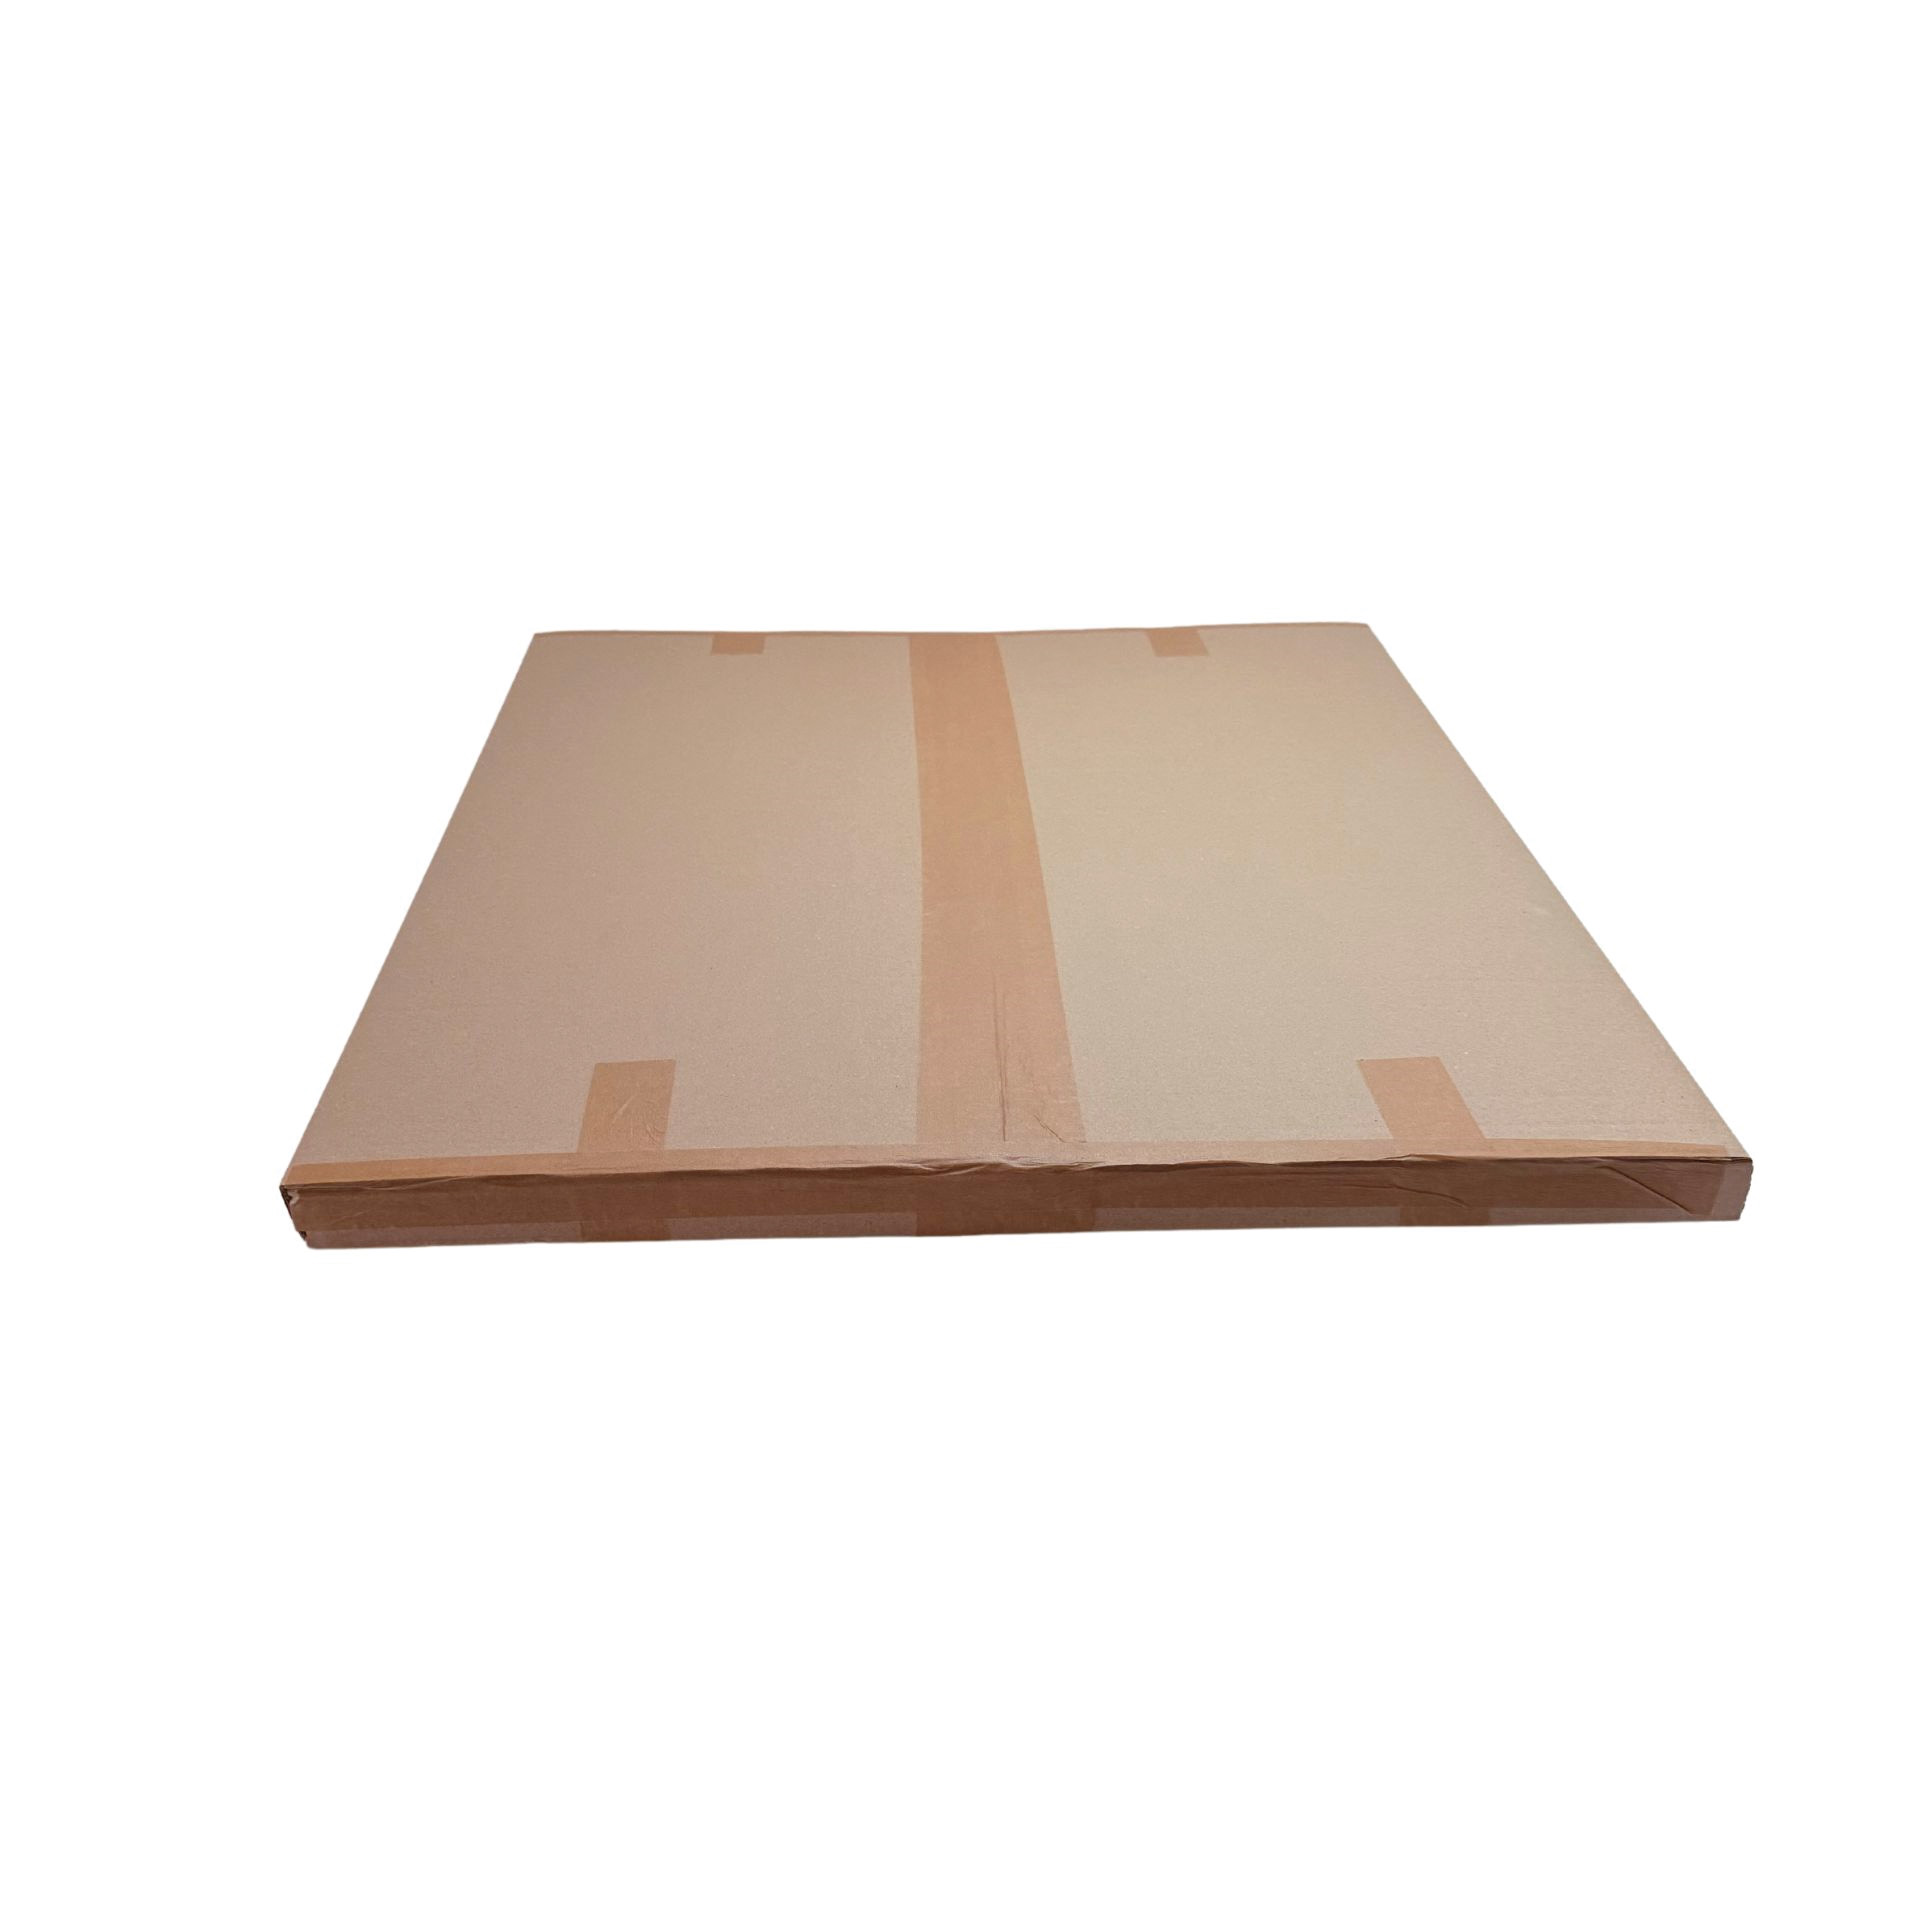
delivery time: 3-7 working days
Manufacturer: Windesa GmbH · Kiebitzheide 47 · 49084 Osnabrück · Germany · info@windesa.com
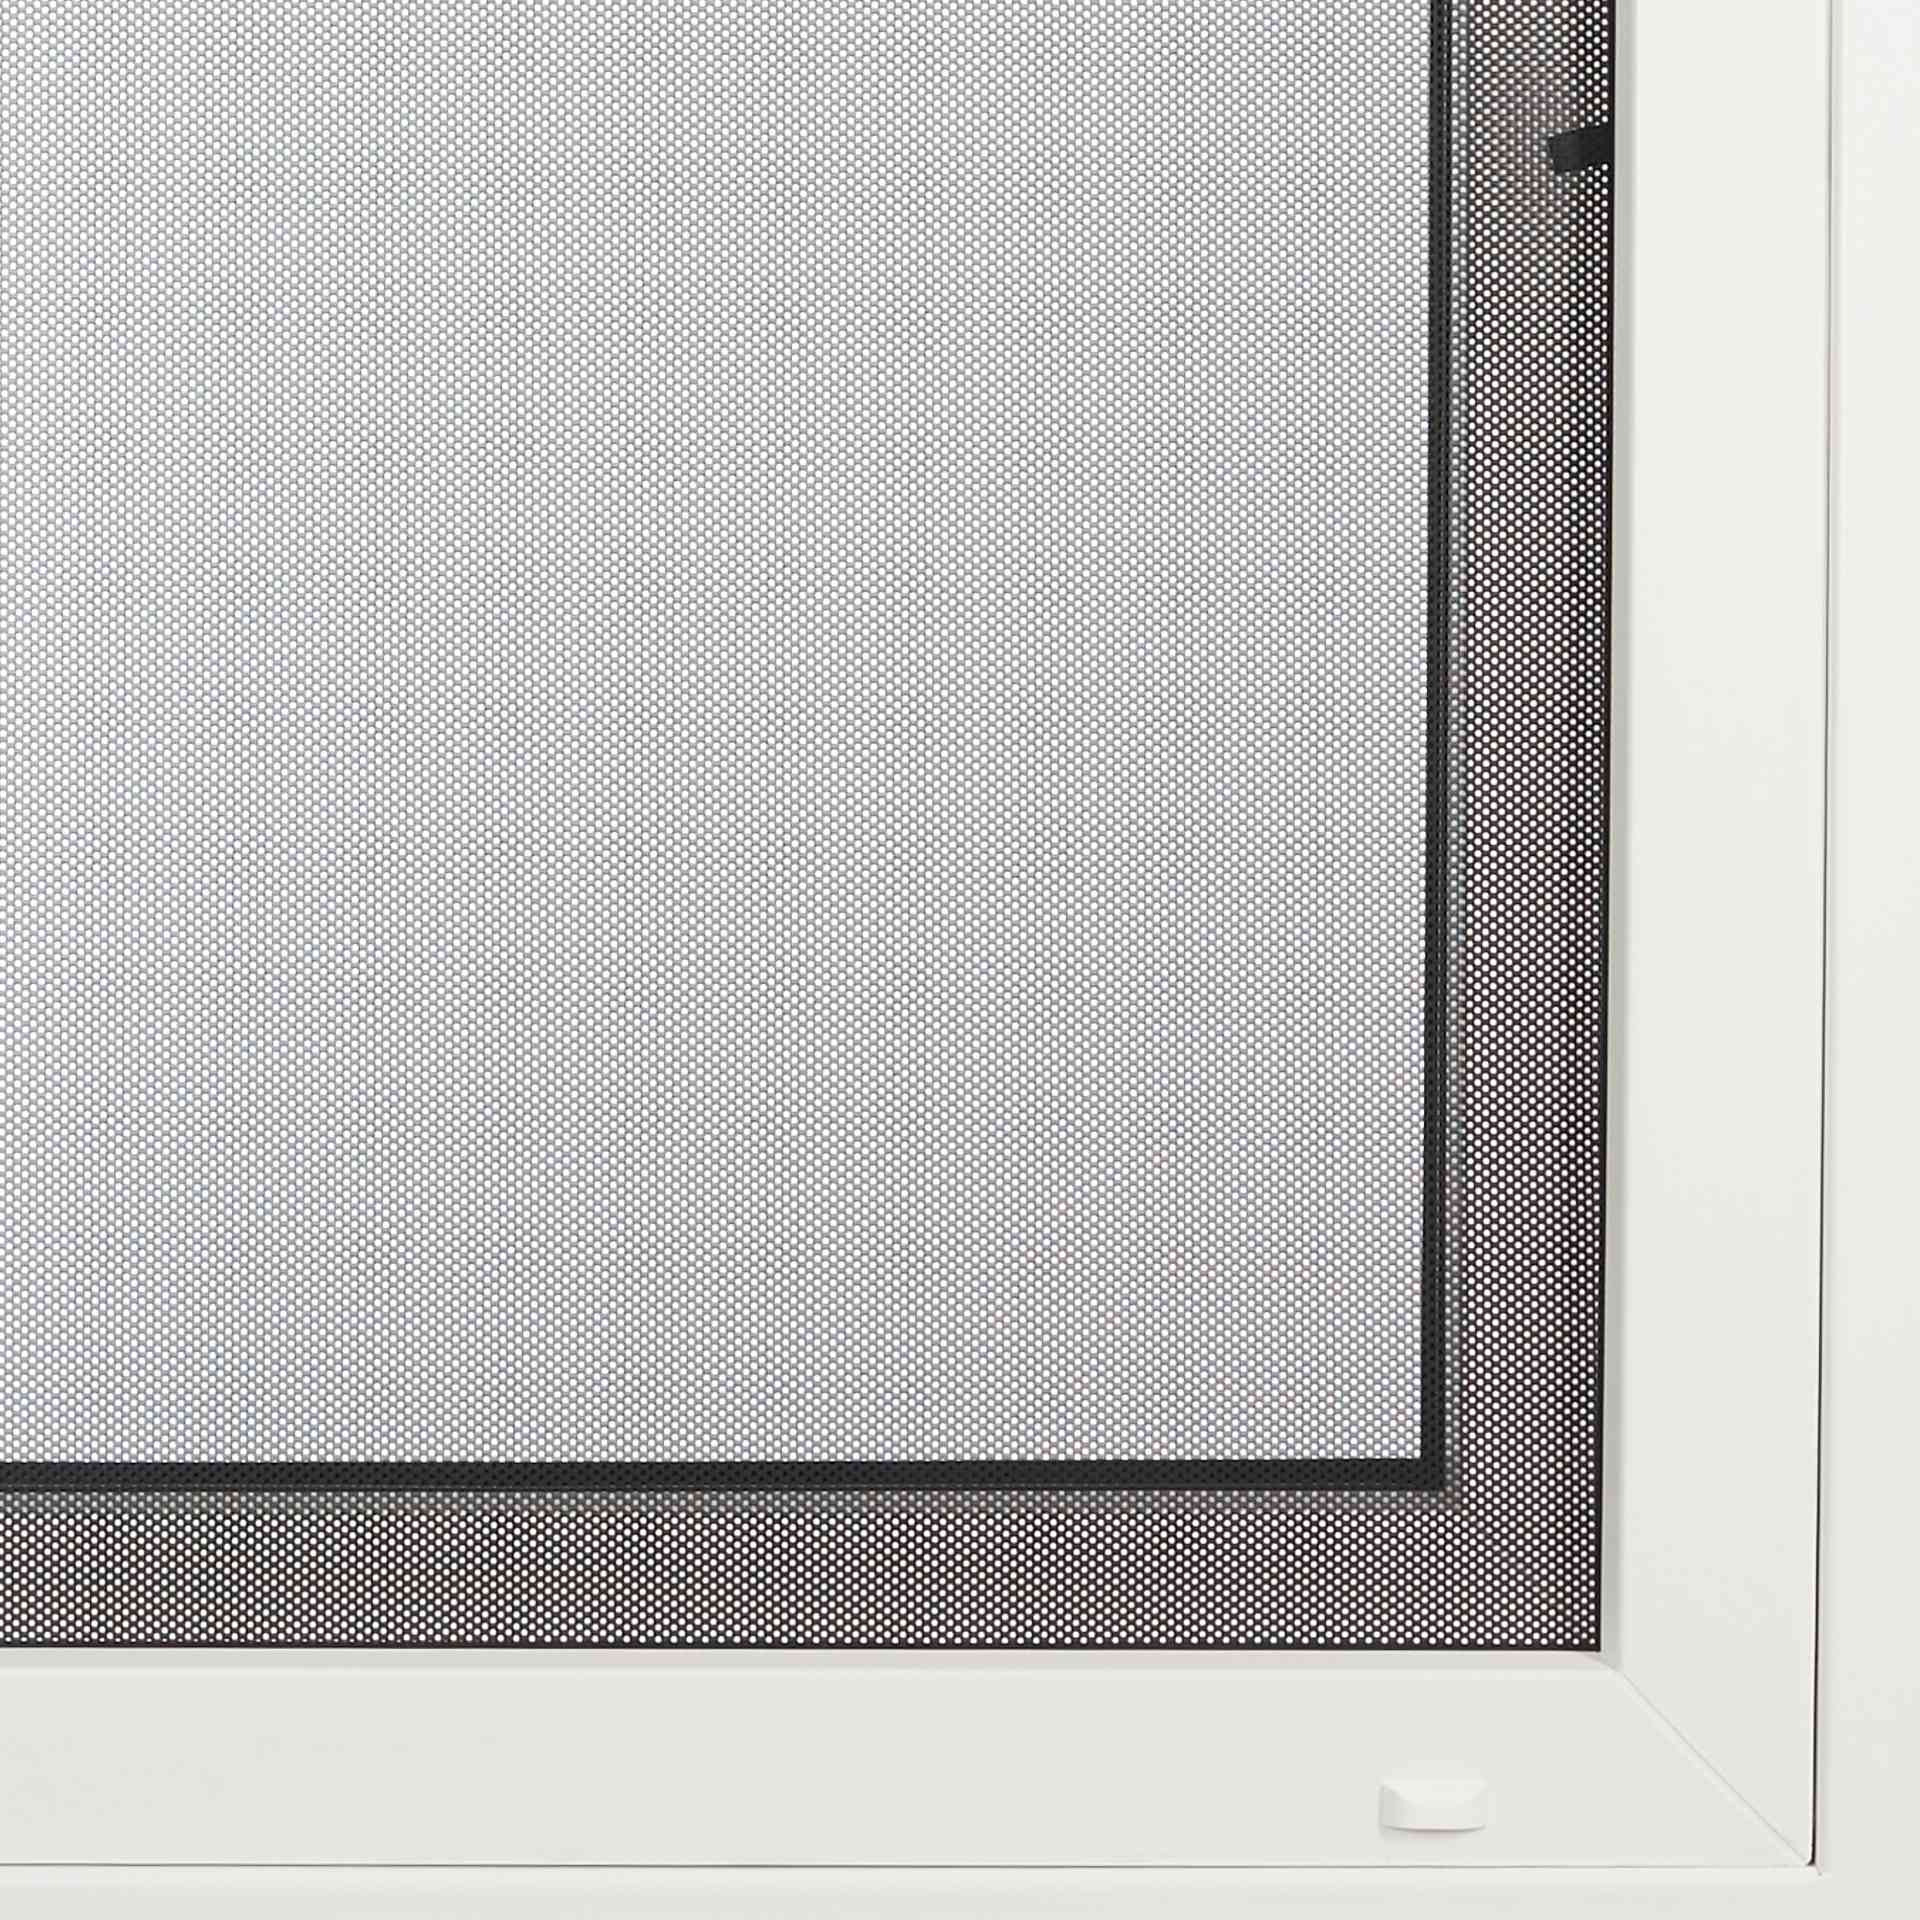
Customised pollen screen - WinClip STYLE Pollen -
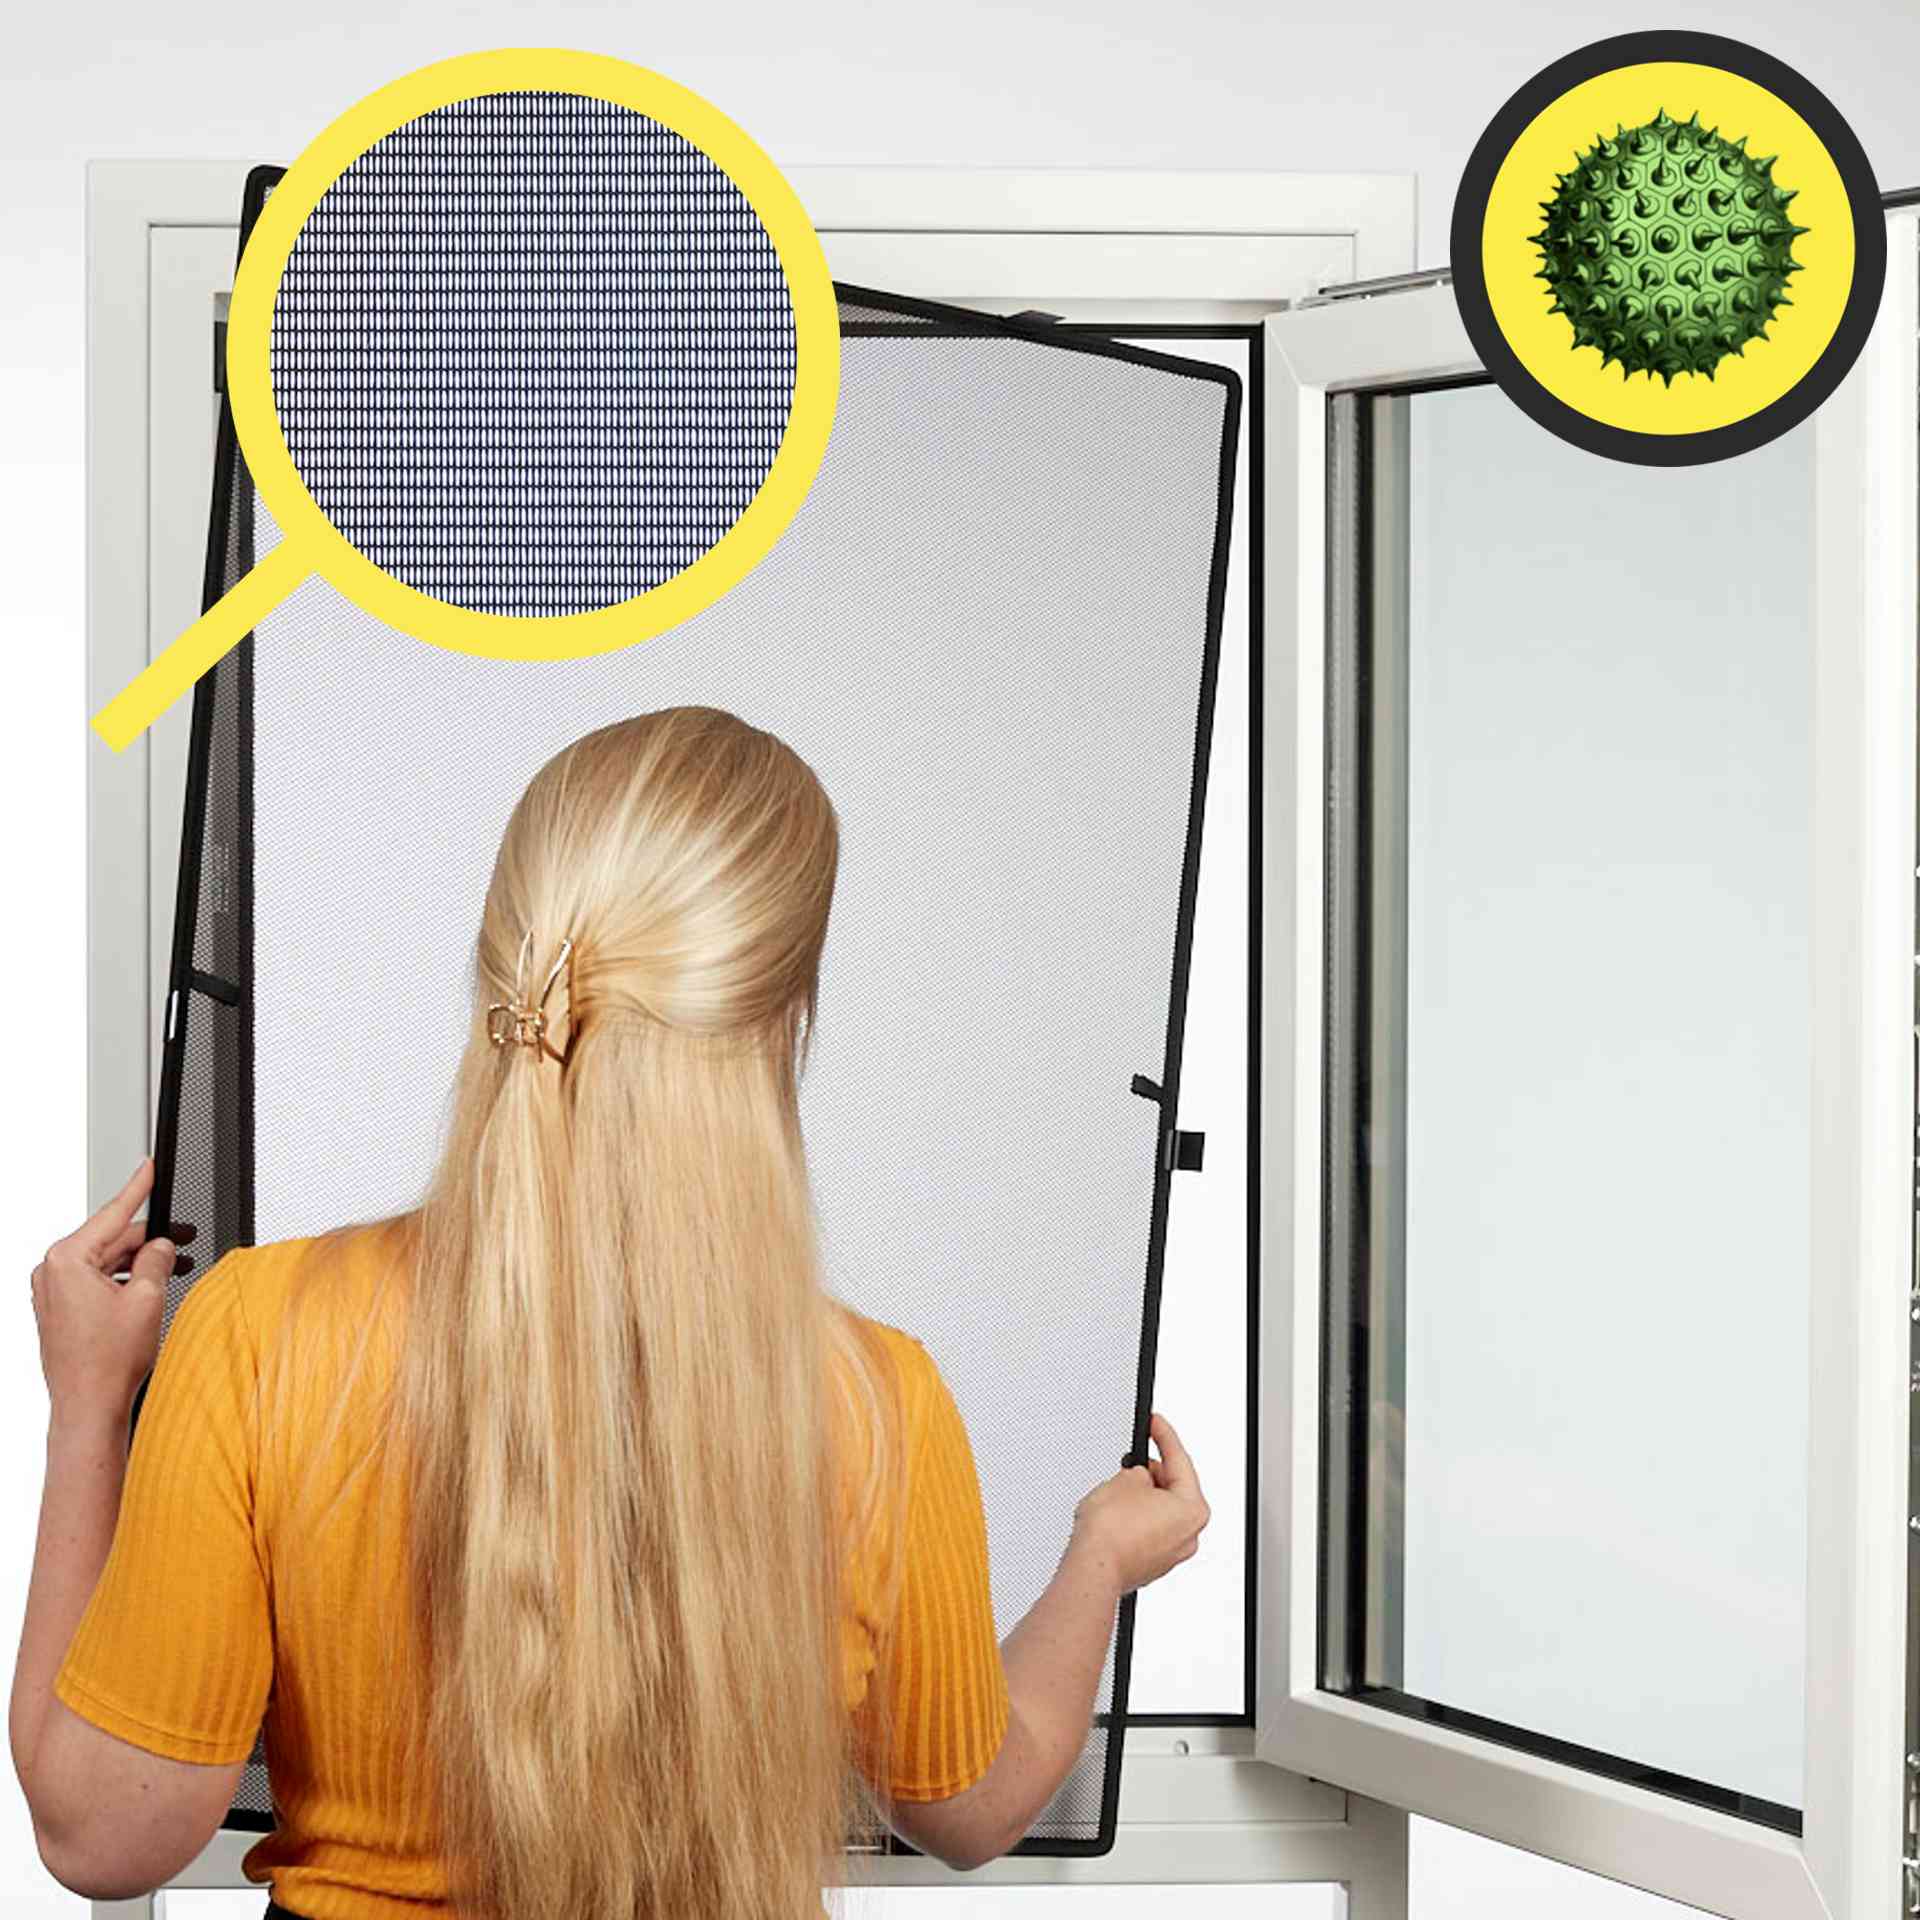
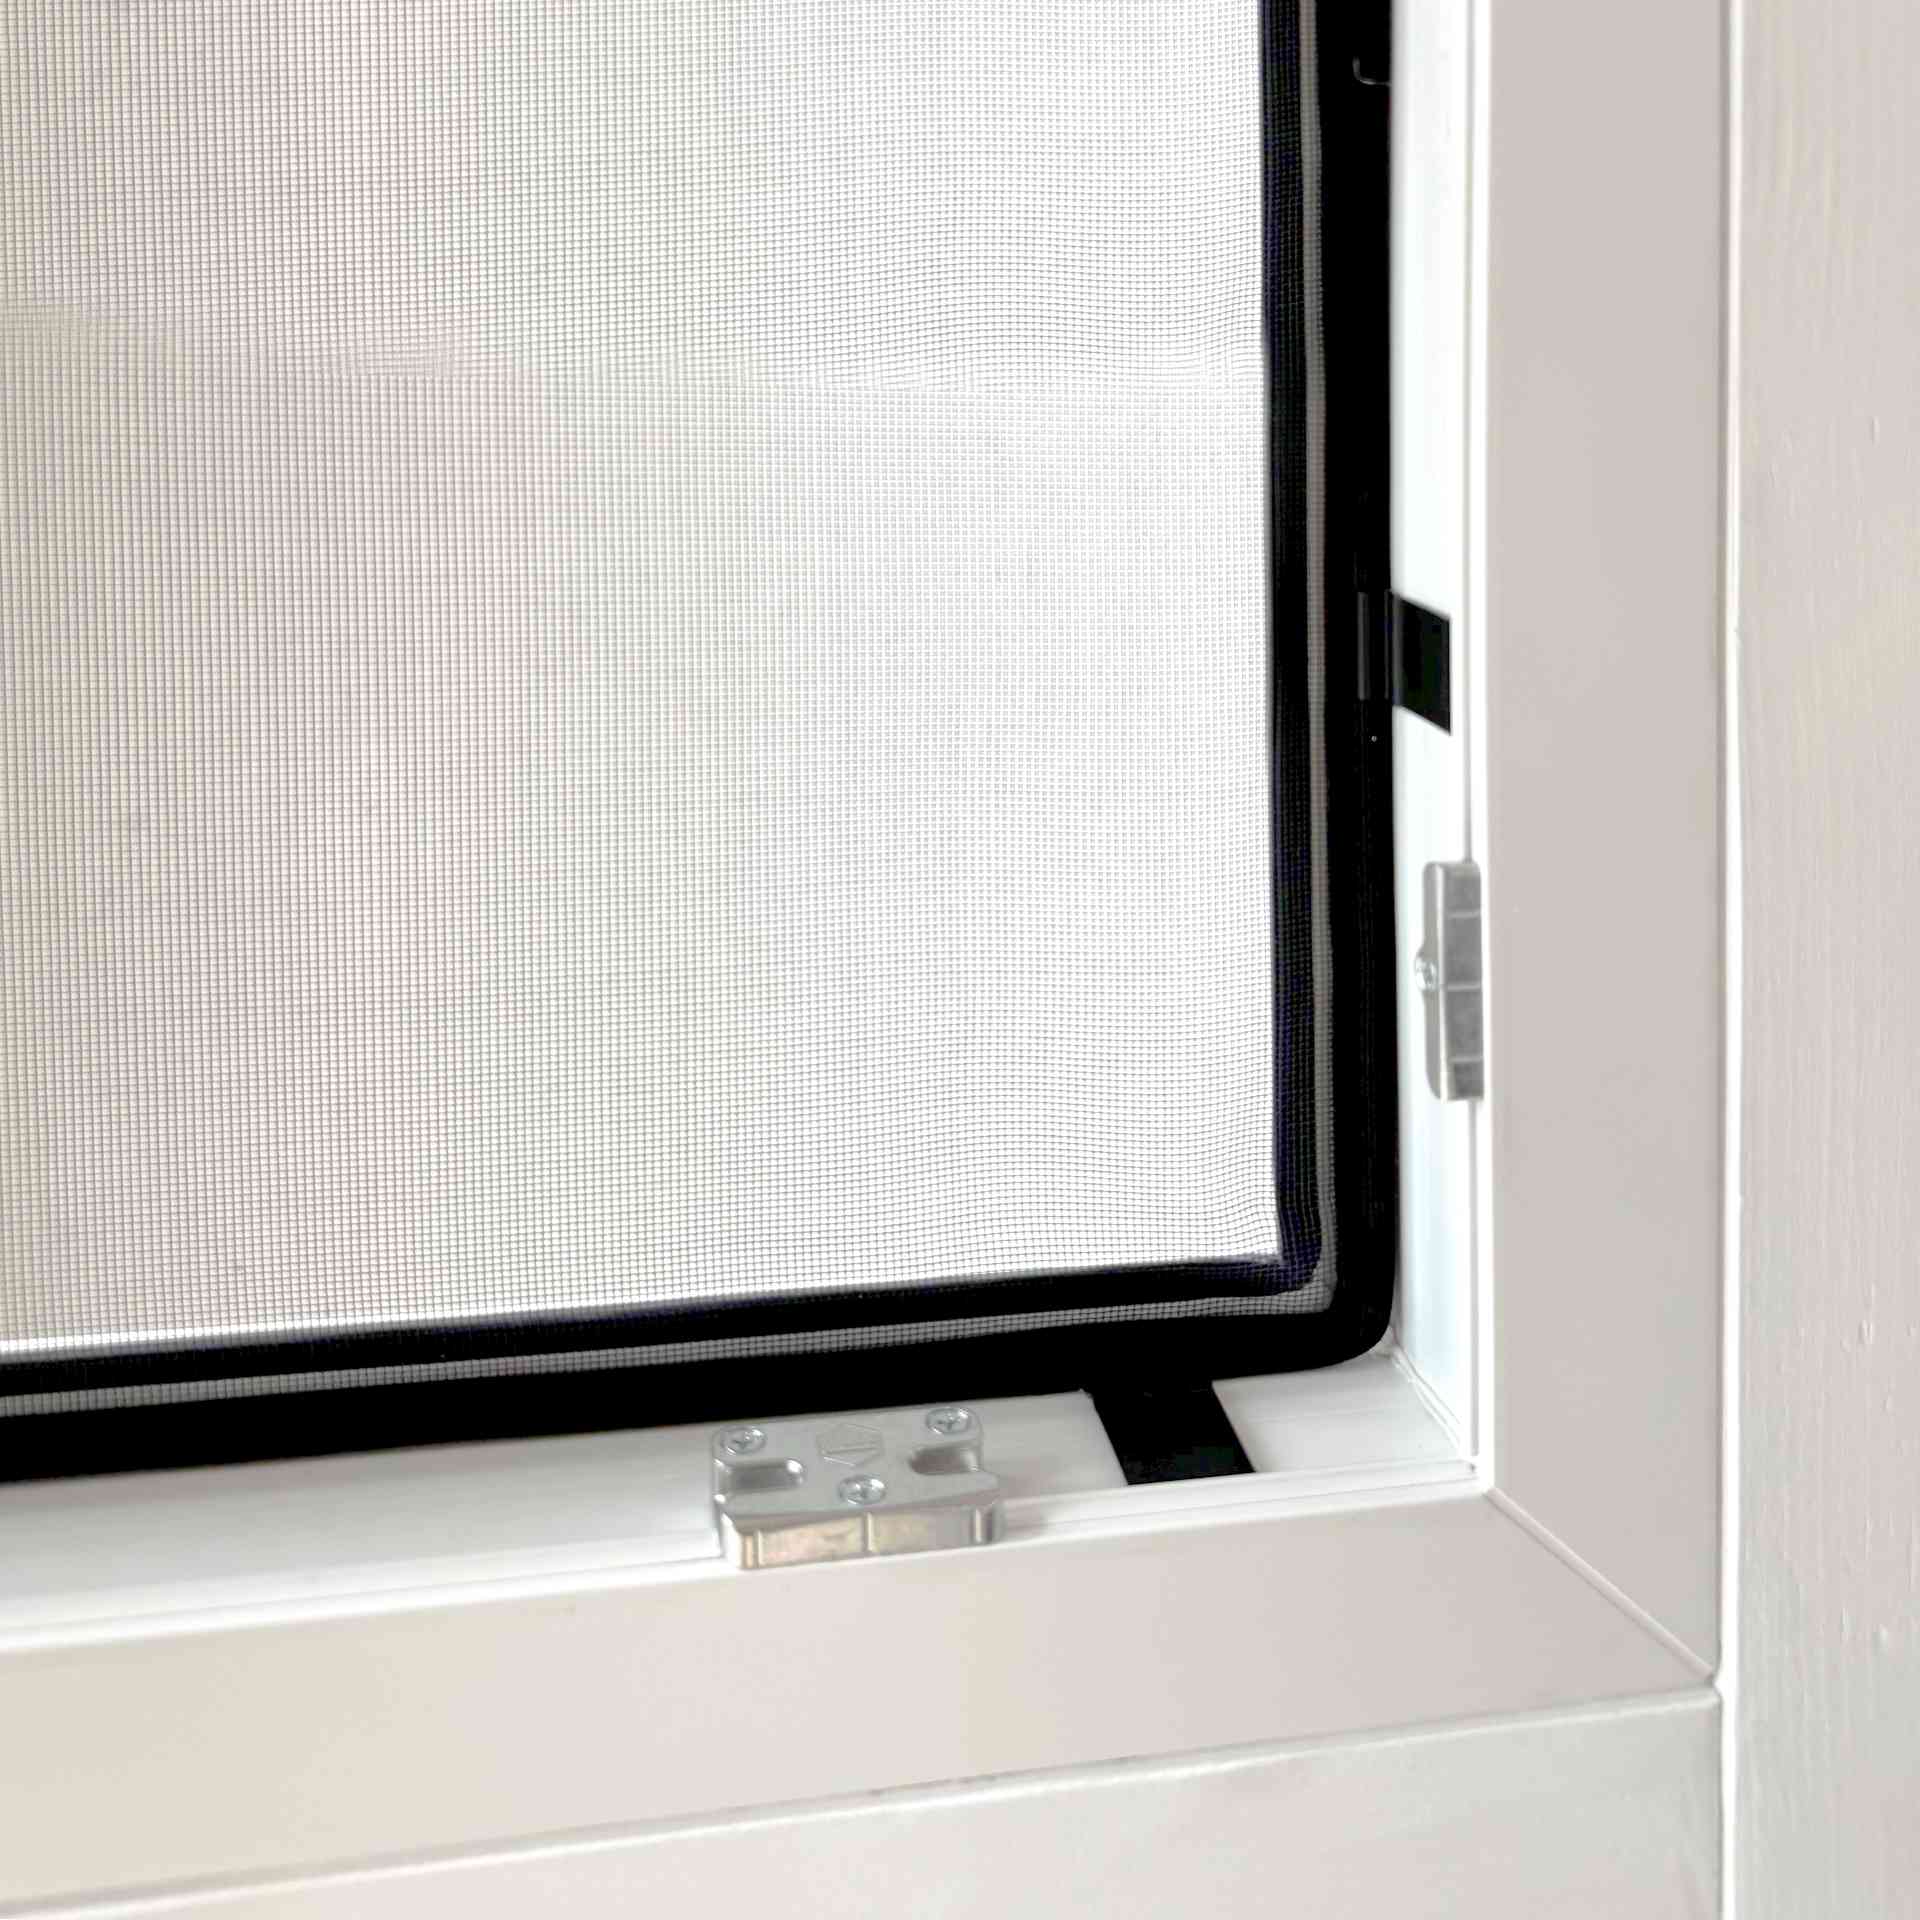
Put an end to pollen and insects: the WinClip made-to-measure pollen screen is easy to insert into the window frame, unbeatably favourable in price and provides a stable hold. No time-consuming self-assembly is required and no tools are needed. The pollen screen is delivered fully assembled.
Custom-made items are excluded from the right of withdrawal by law.
Not just for allergy sufferers
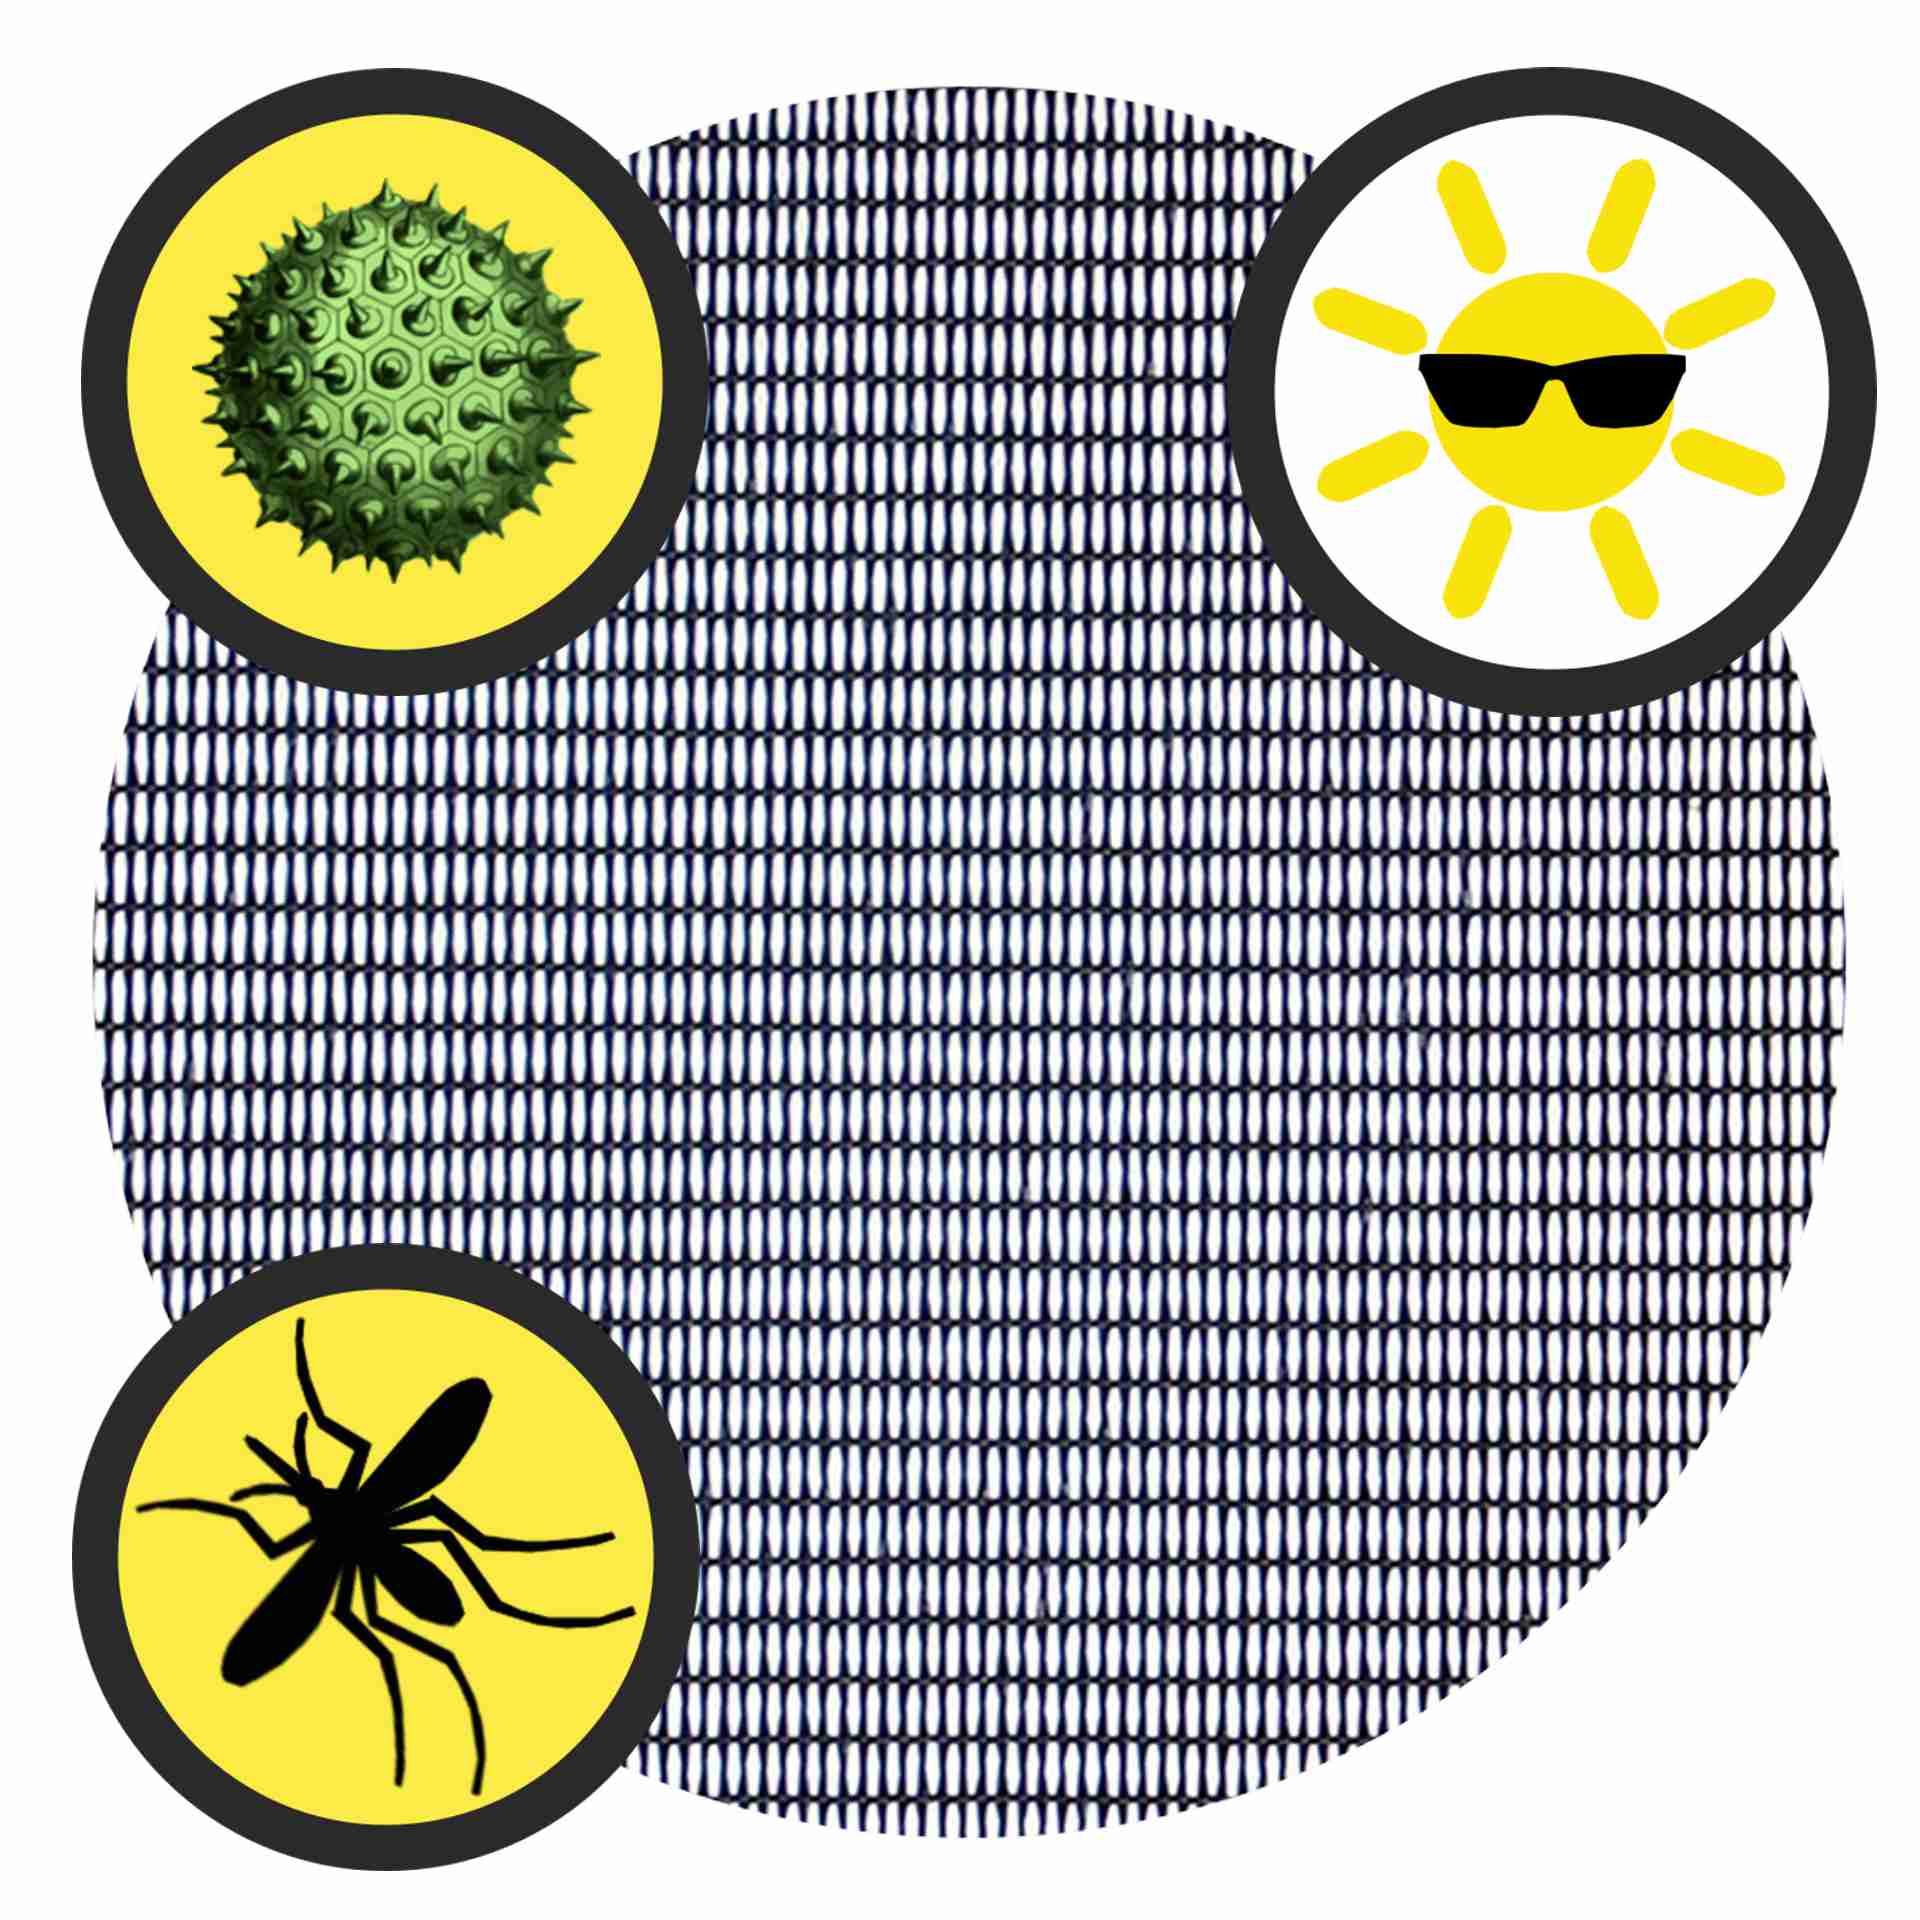
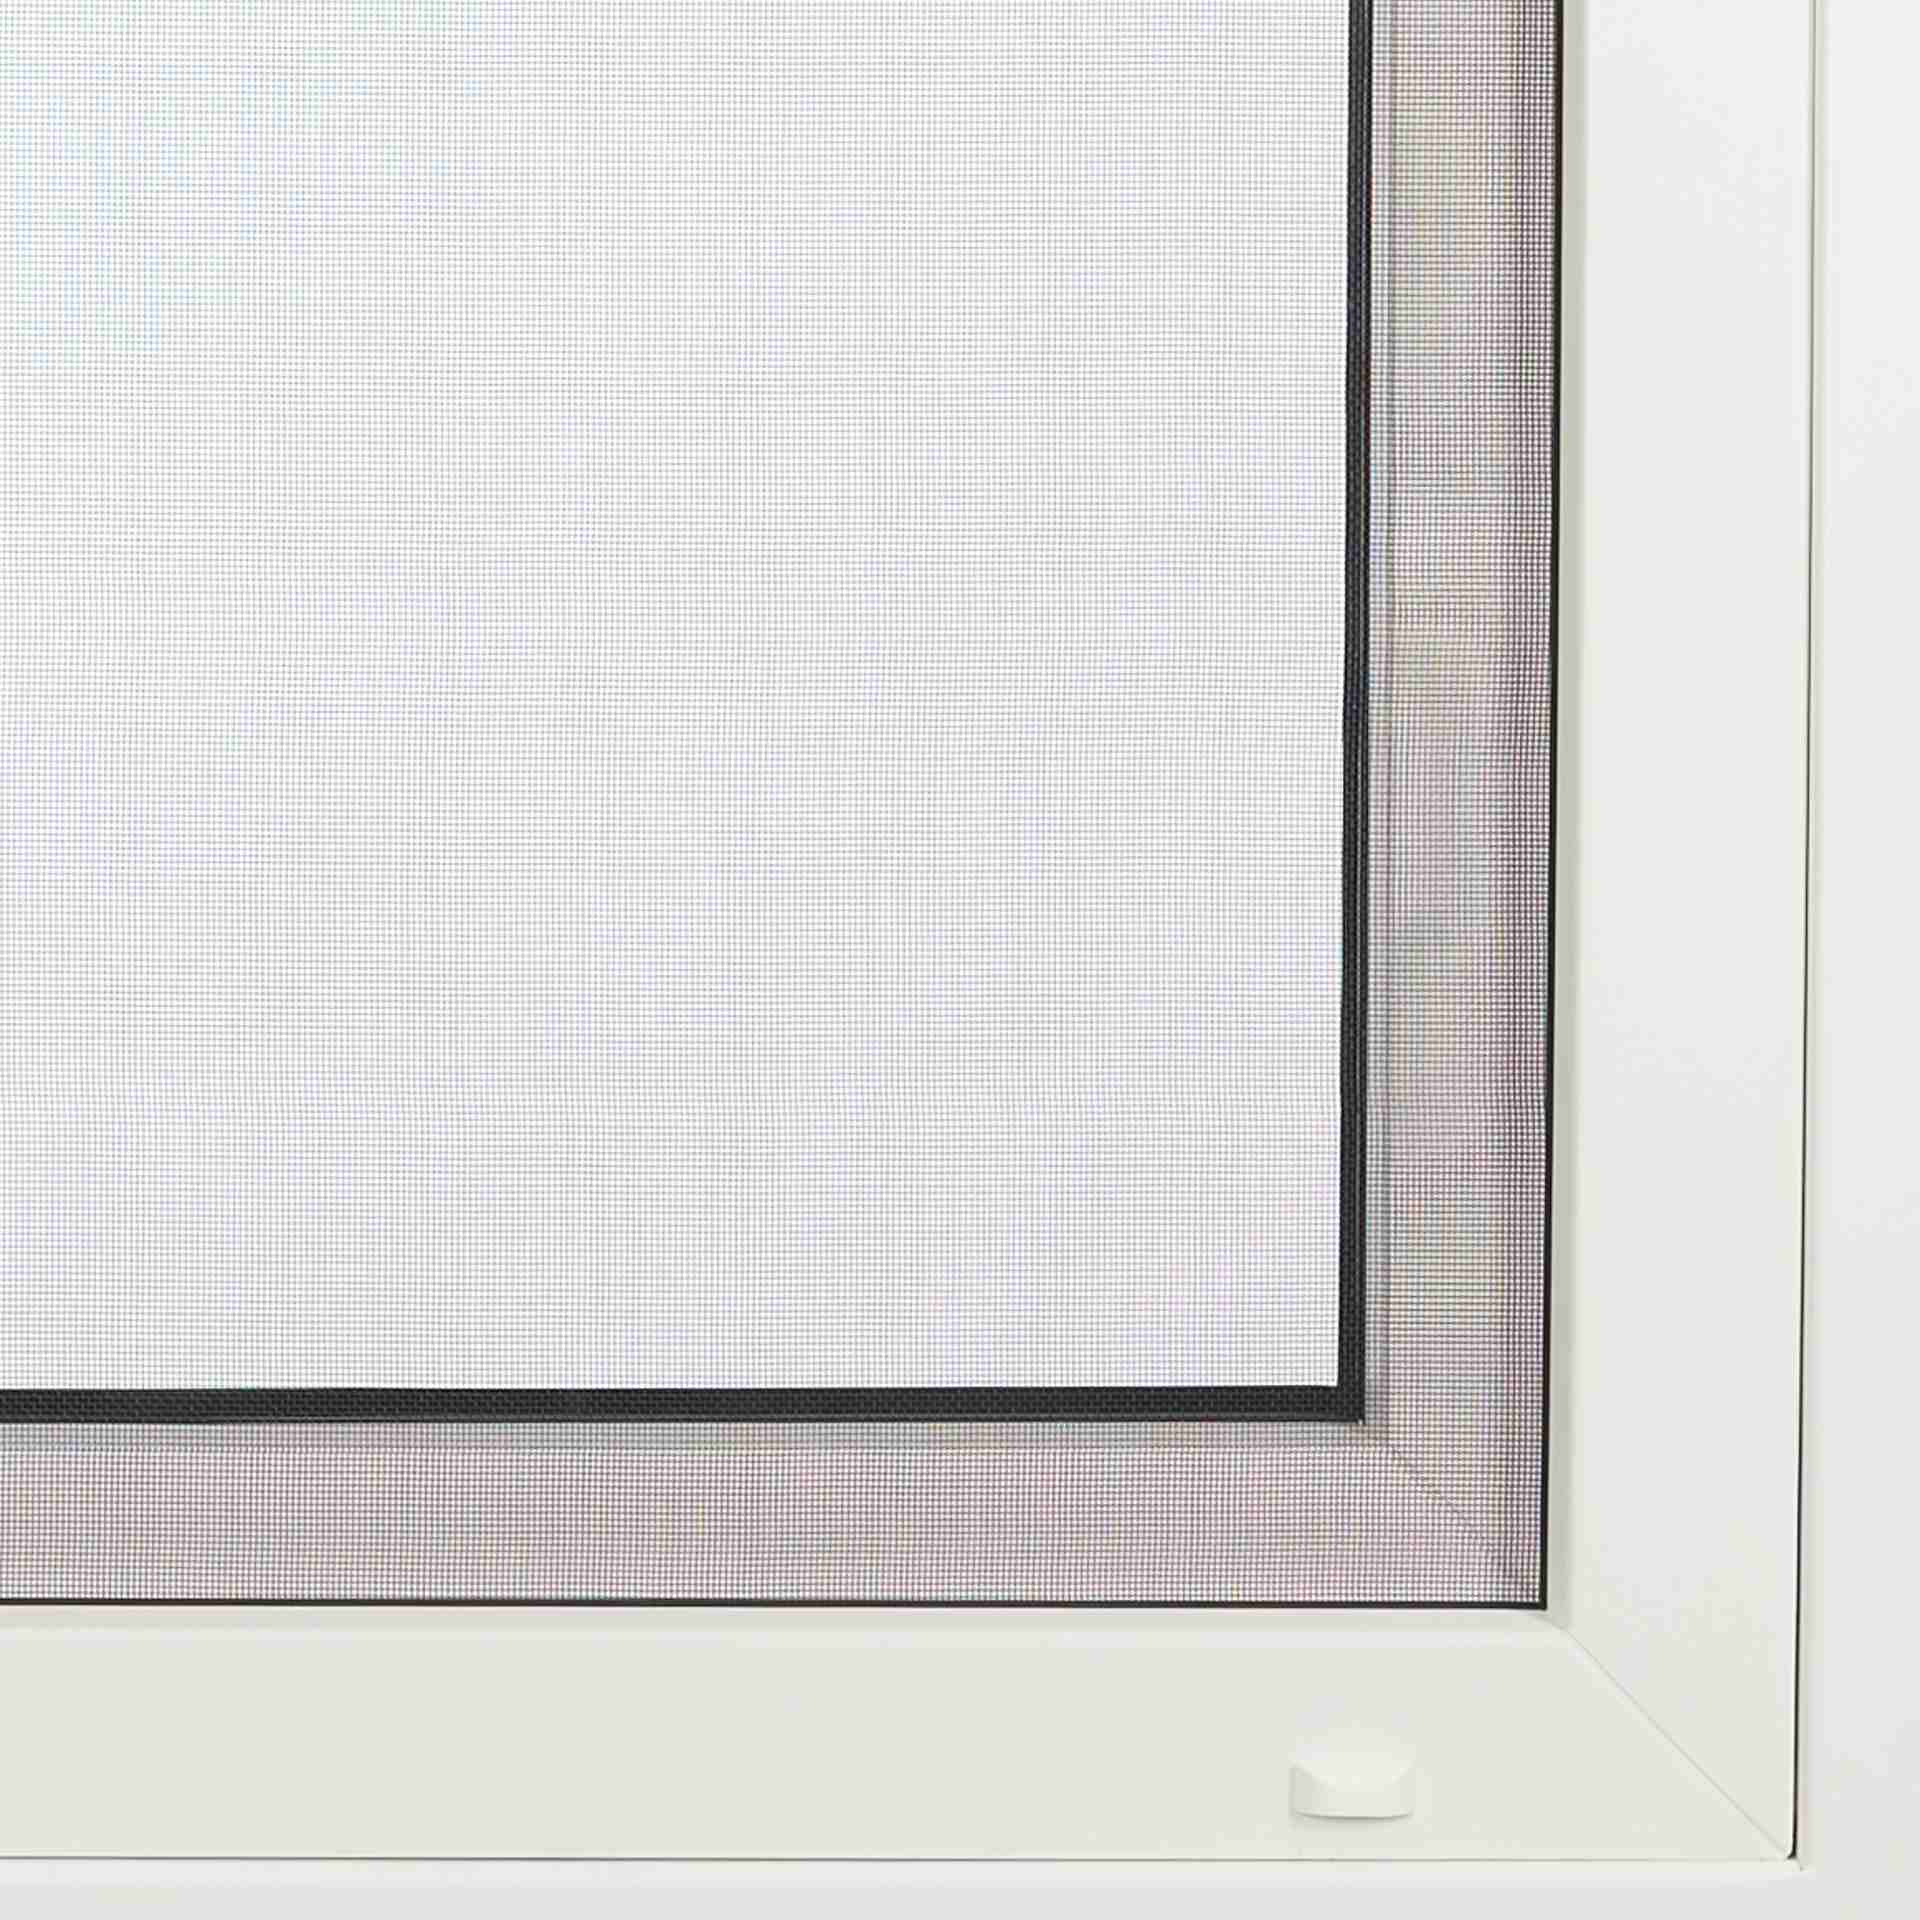
The WinClip Pollen consists of a very fine, high-quality mesh fabric that optimally filters out a large amount of pollen and fine dust from the air. And it also offers fly protection! When the window is open, the WinClip prevents draughts and ensures a pleasant indoor climate. Our tip: ALWAYS the best choice for hay fever and allergy sufferers!
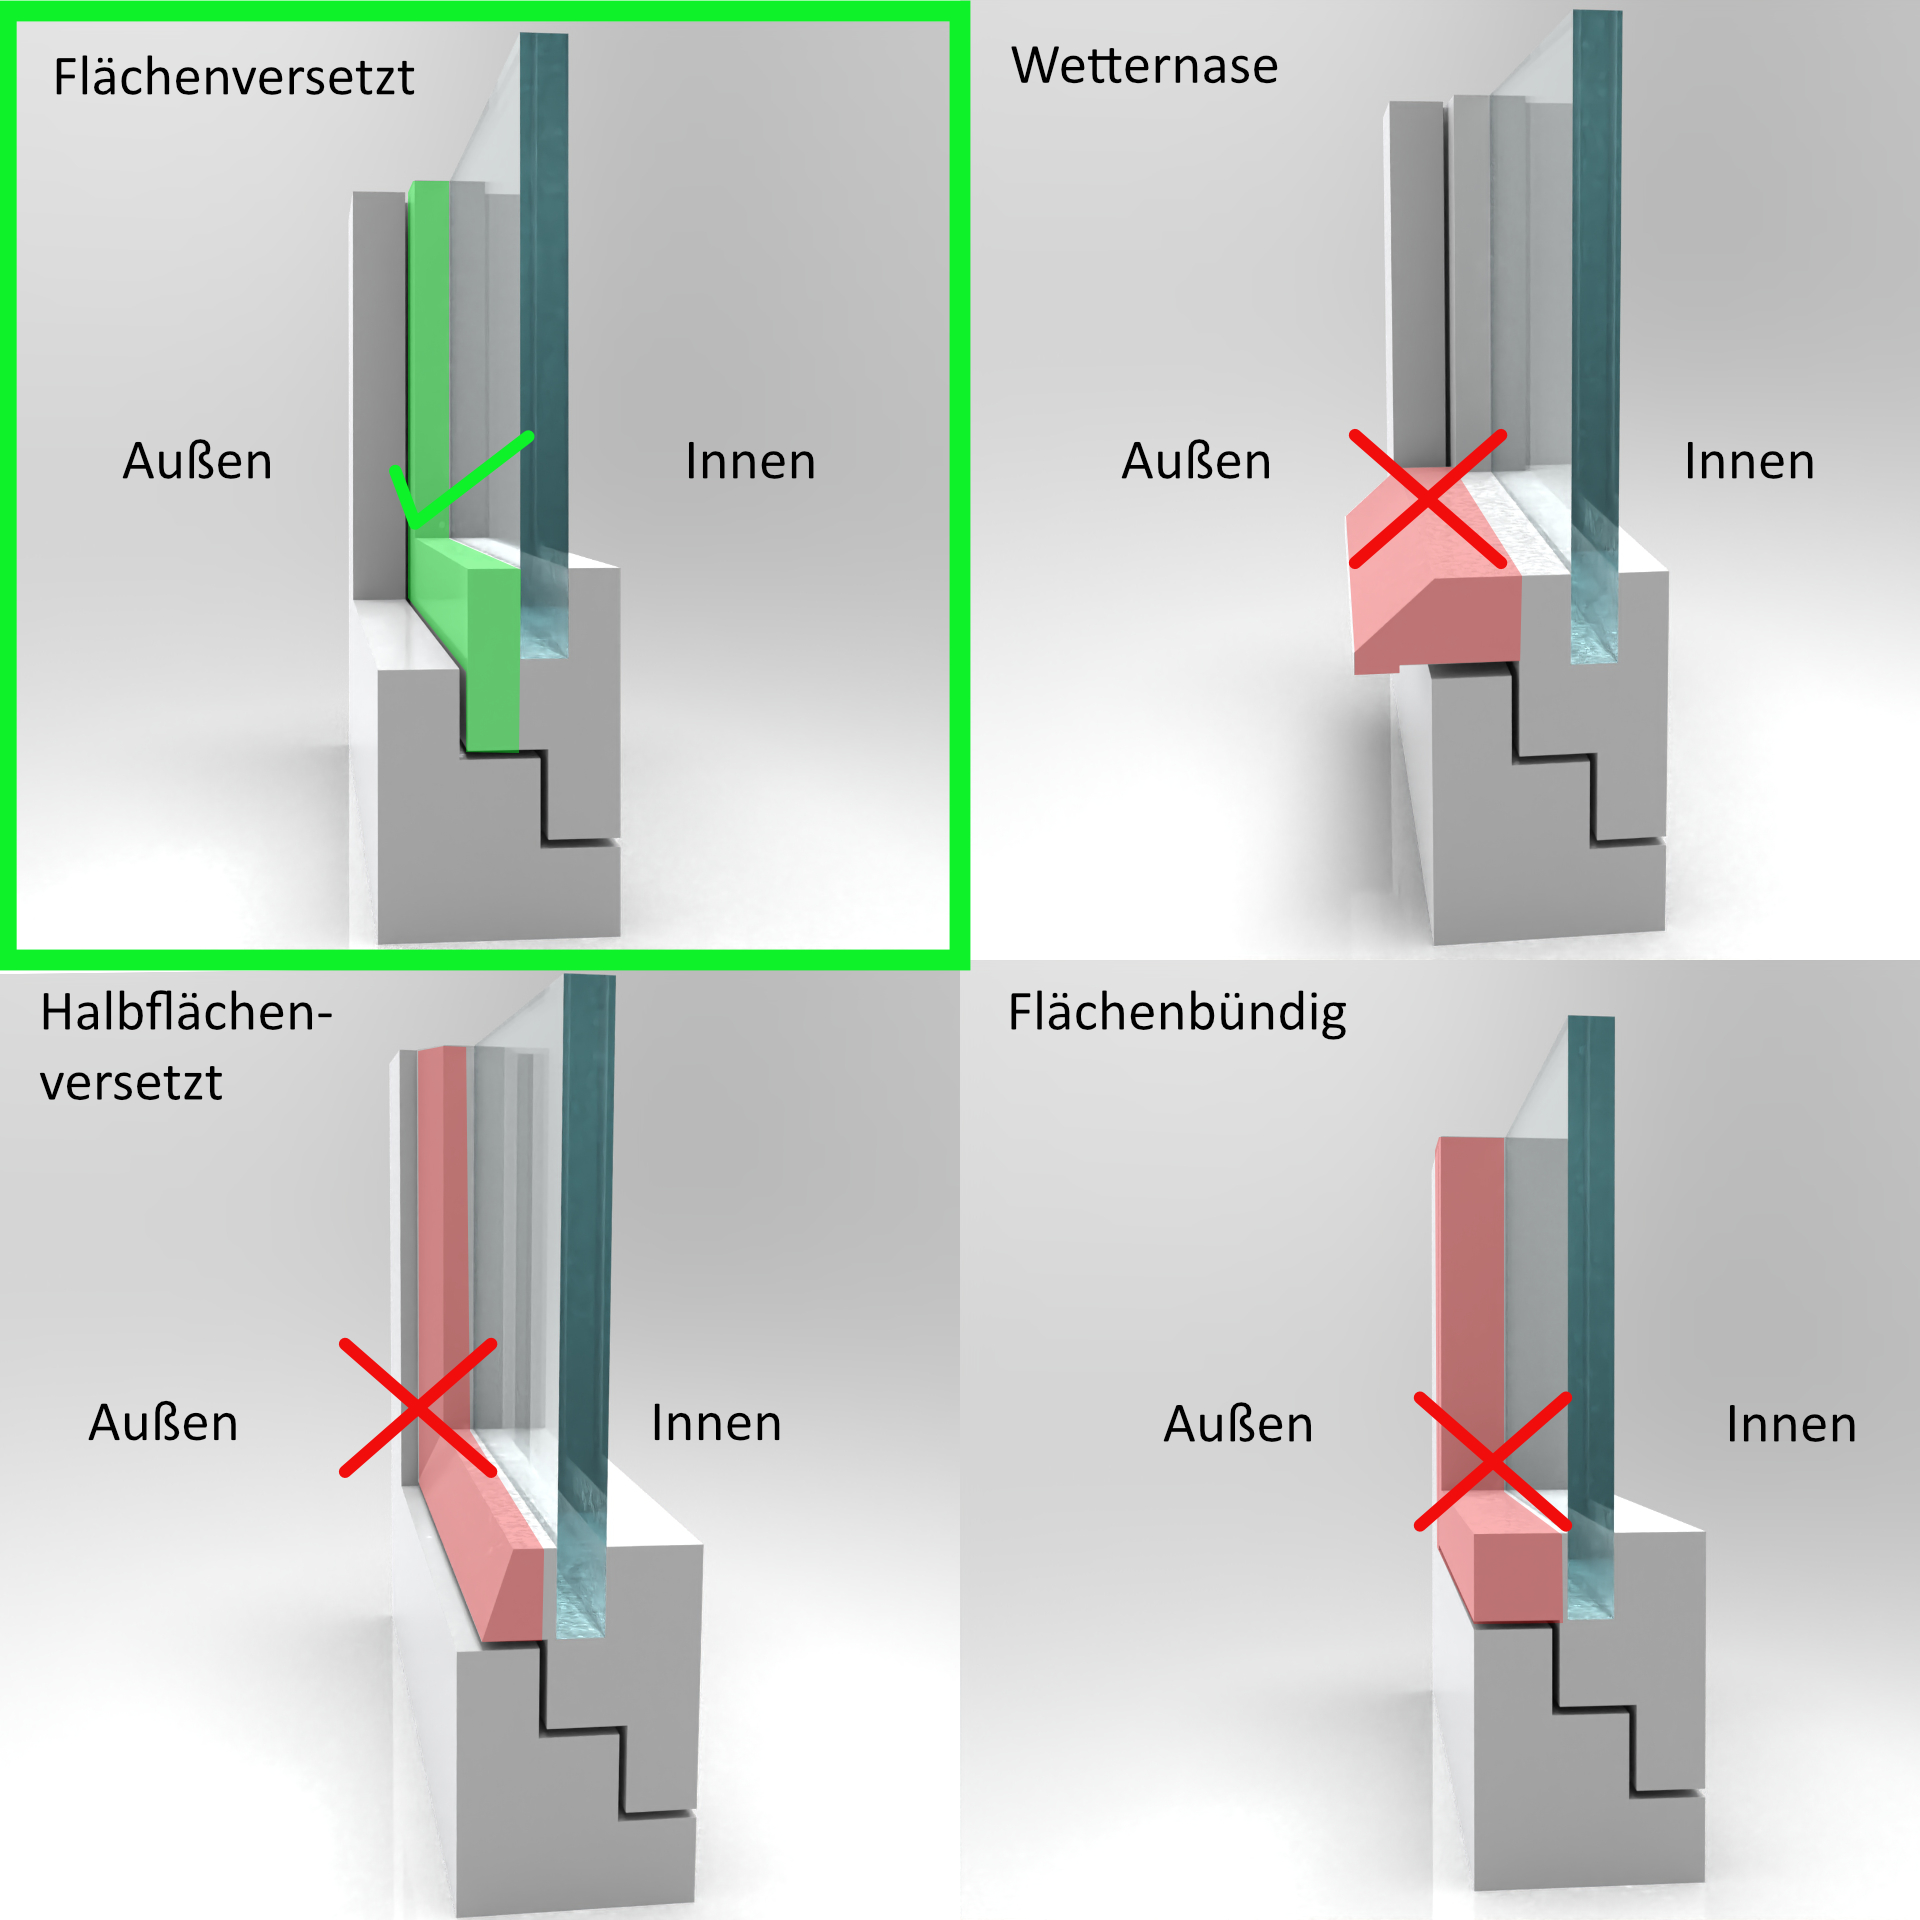
Not suitable for:
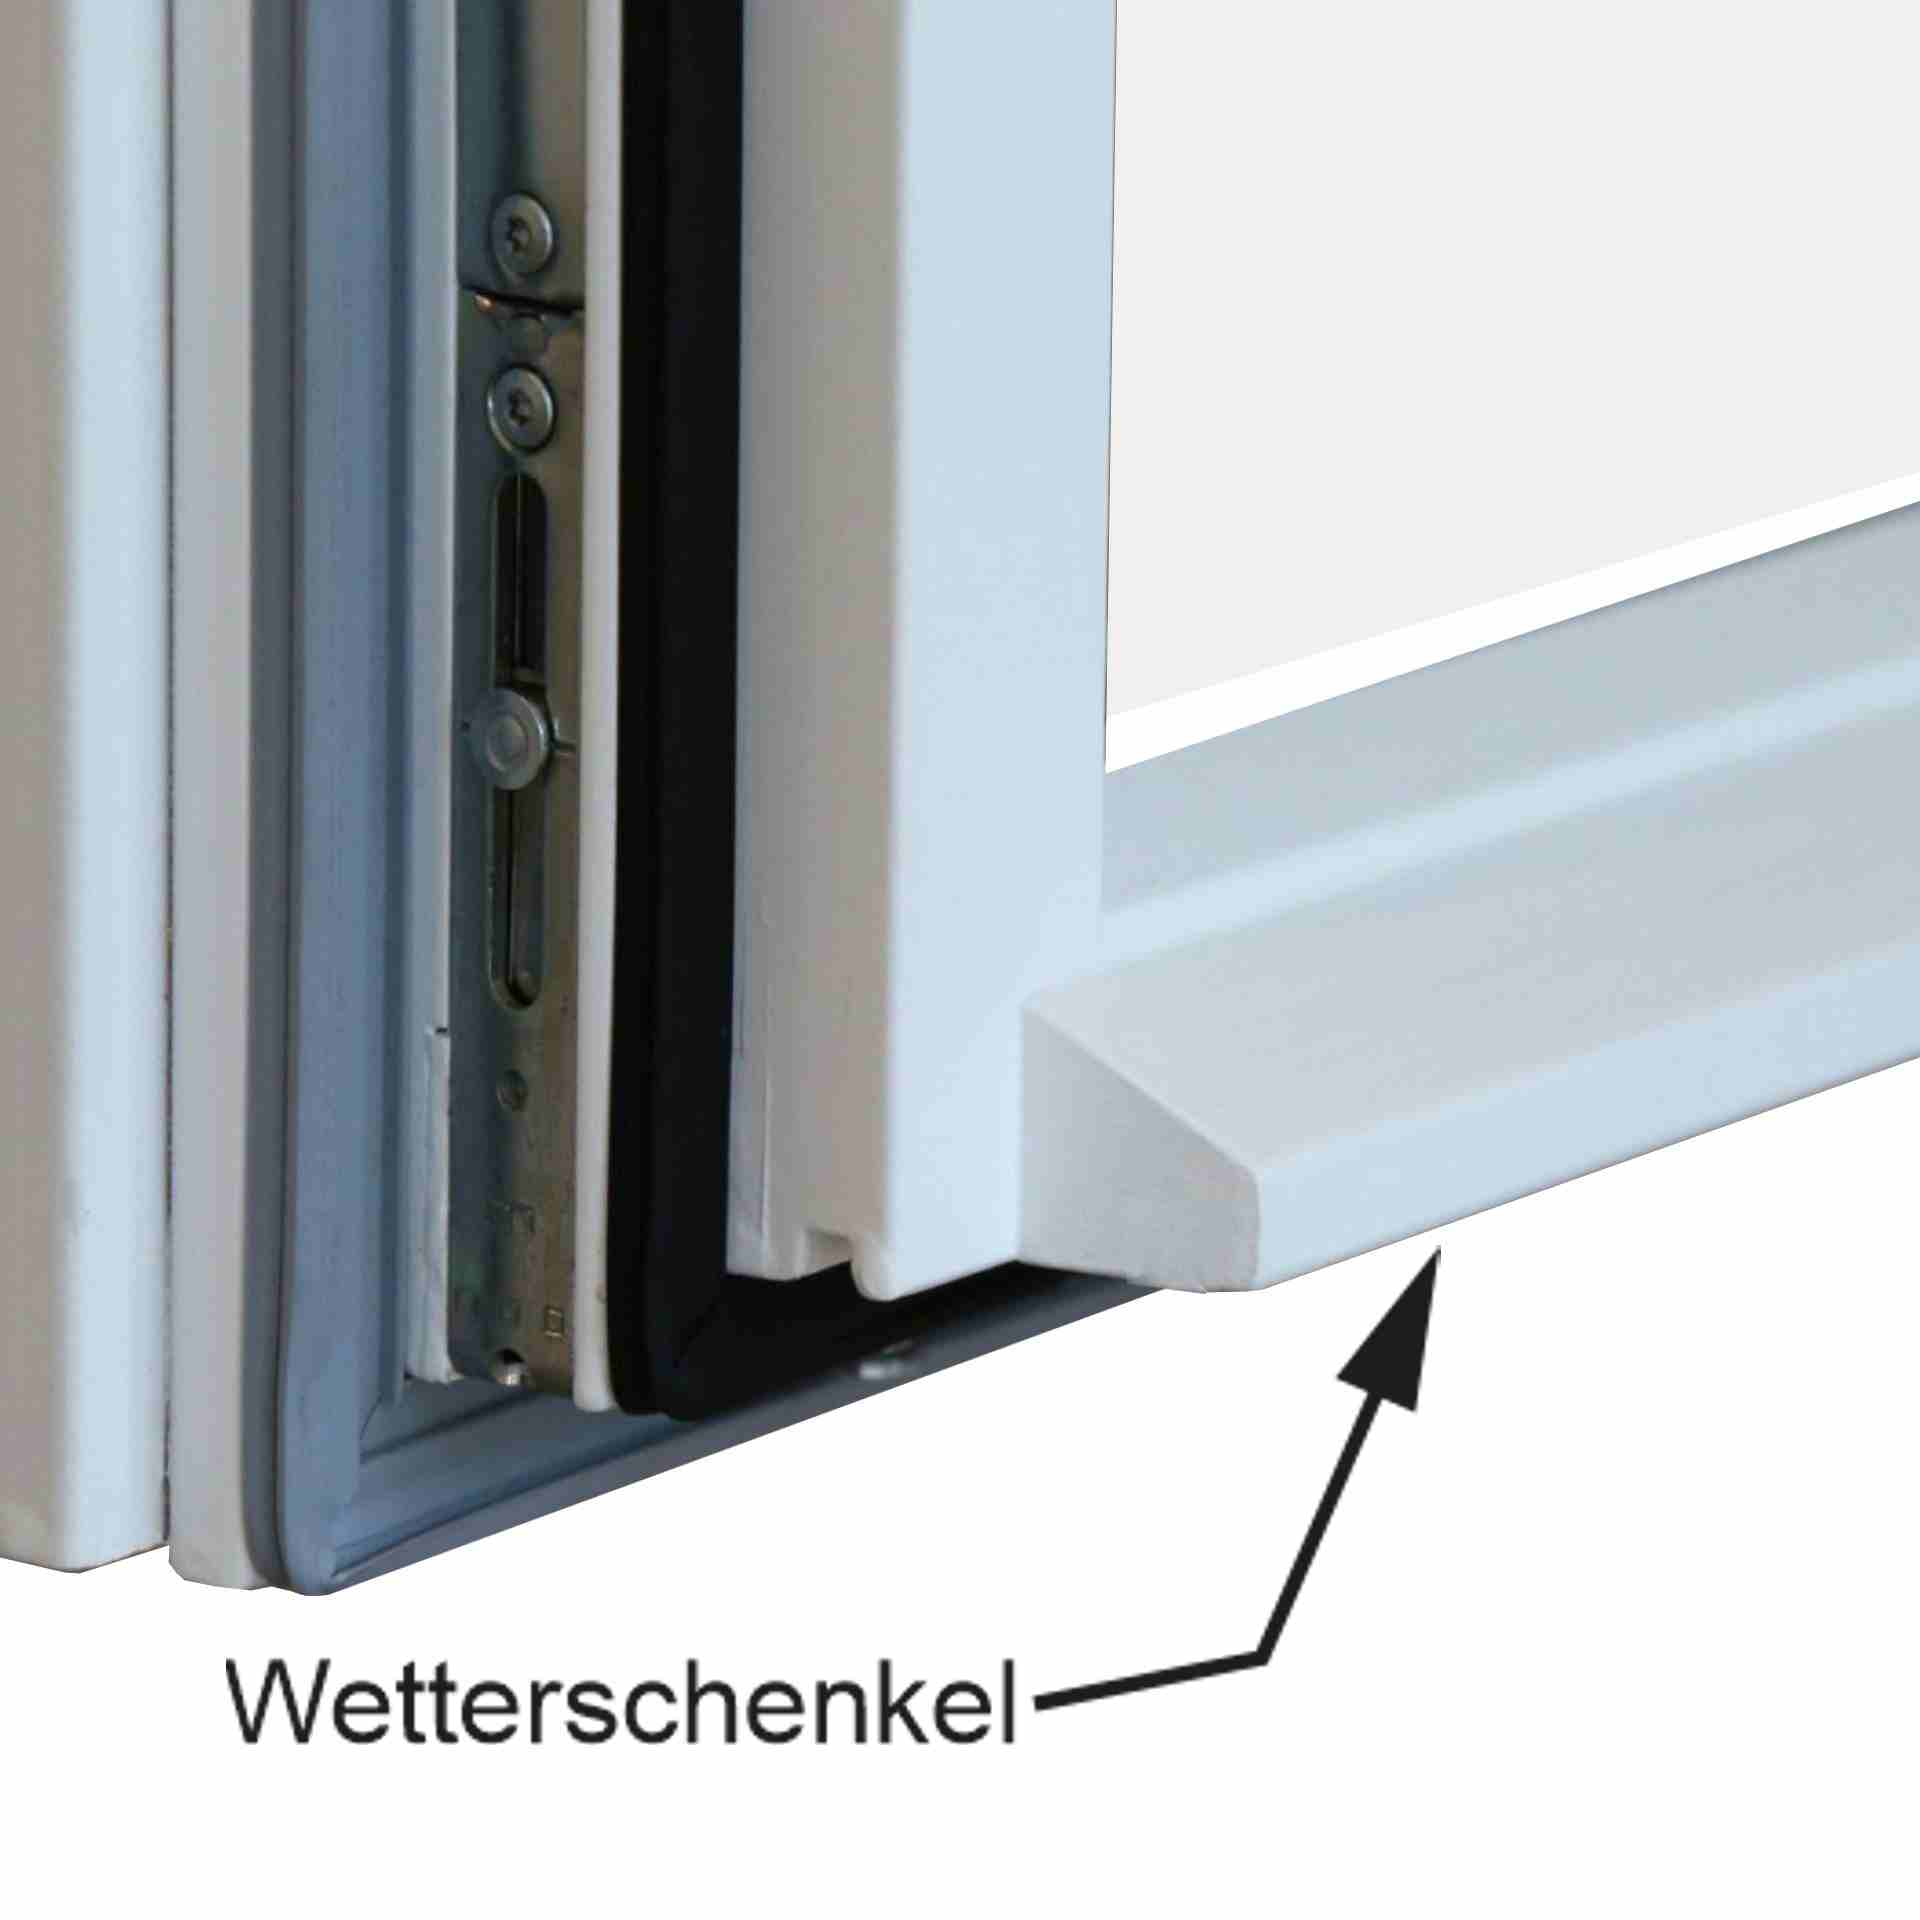
Windows with weatherboards (a beveled profile attached to the lower outer side of the window sash to drain rainwater, see picture gallery)
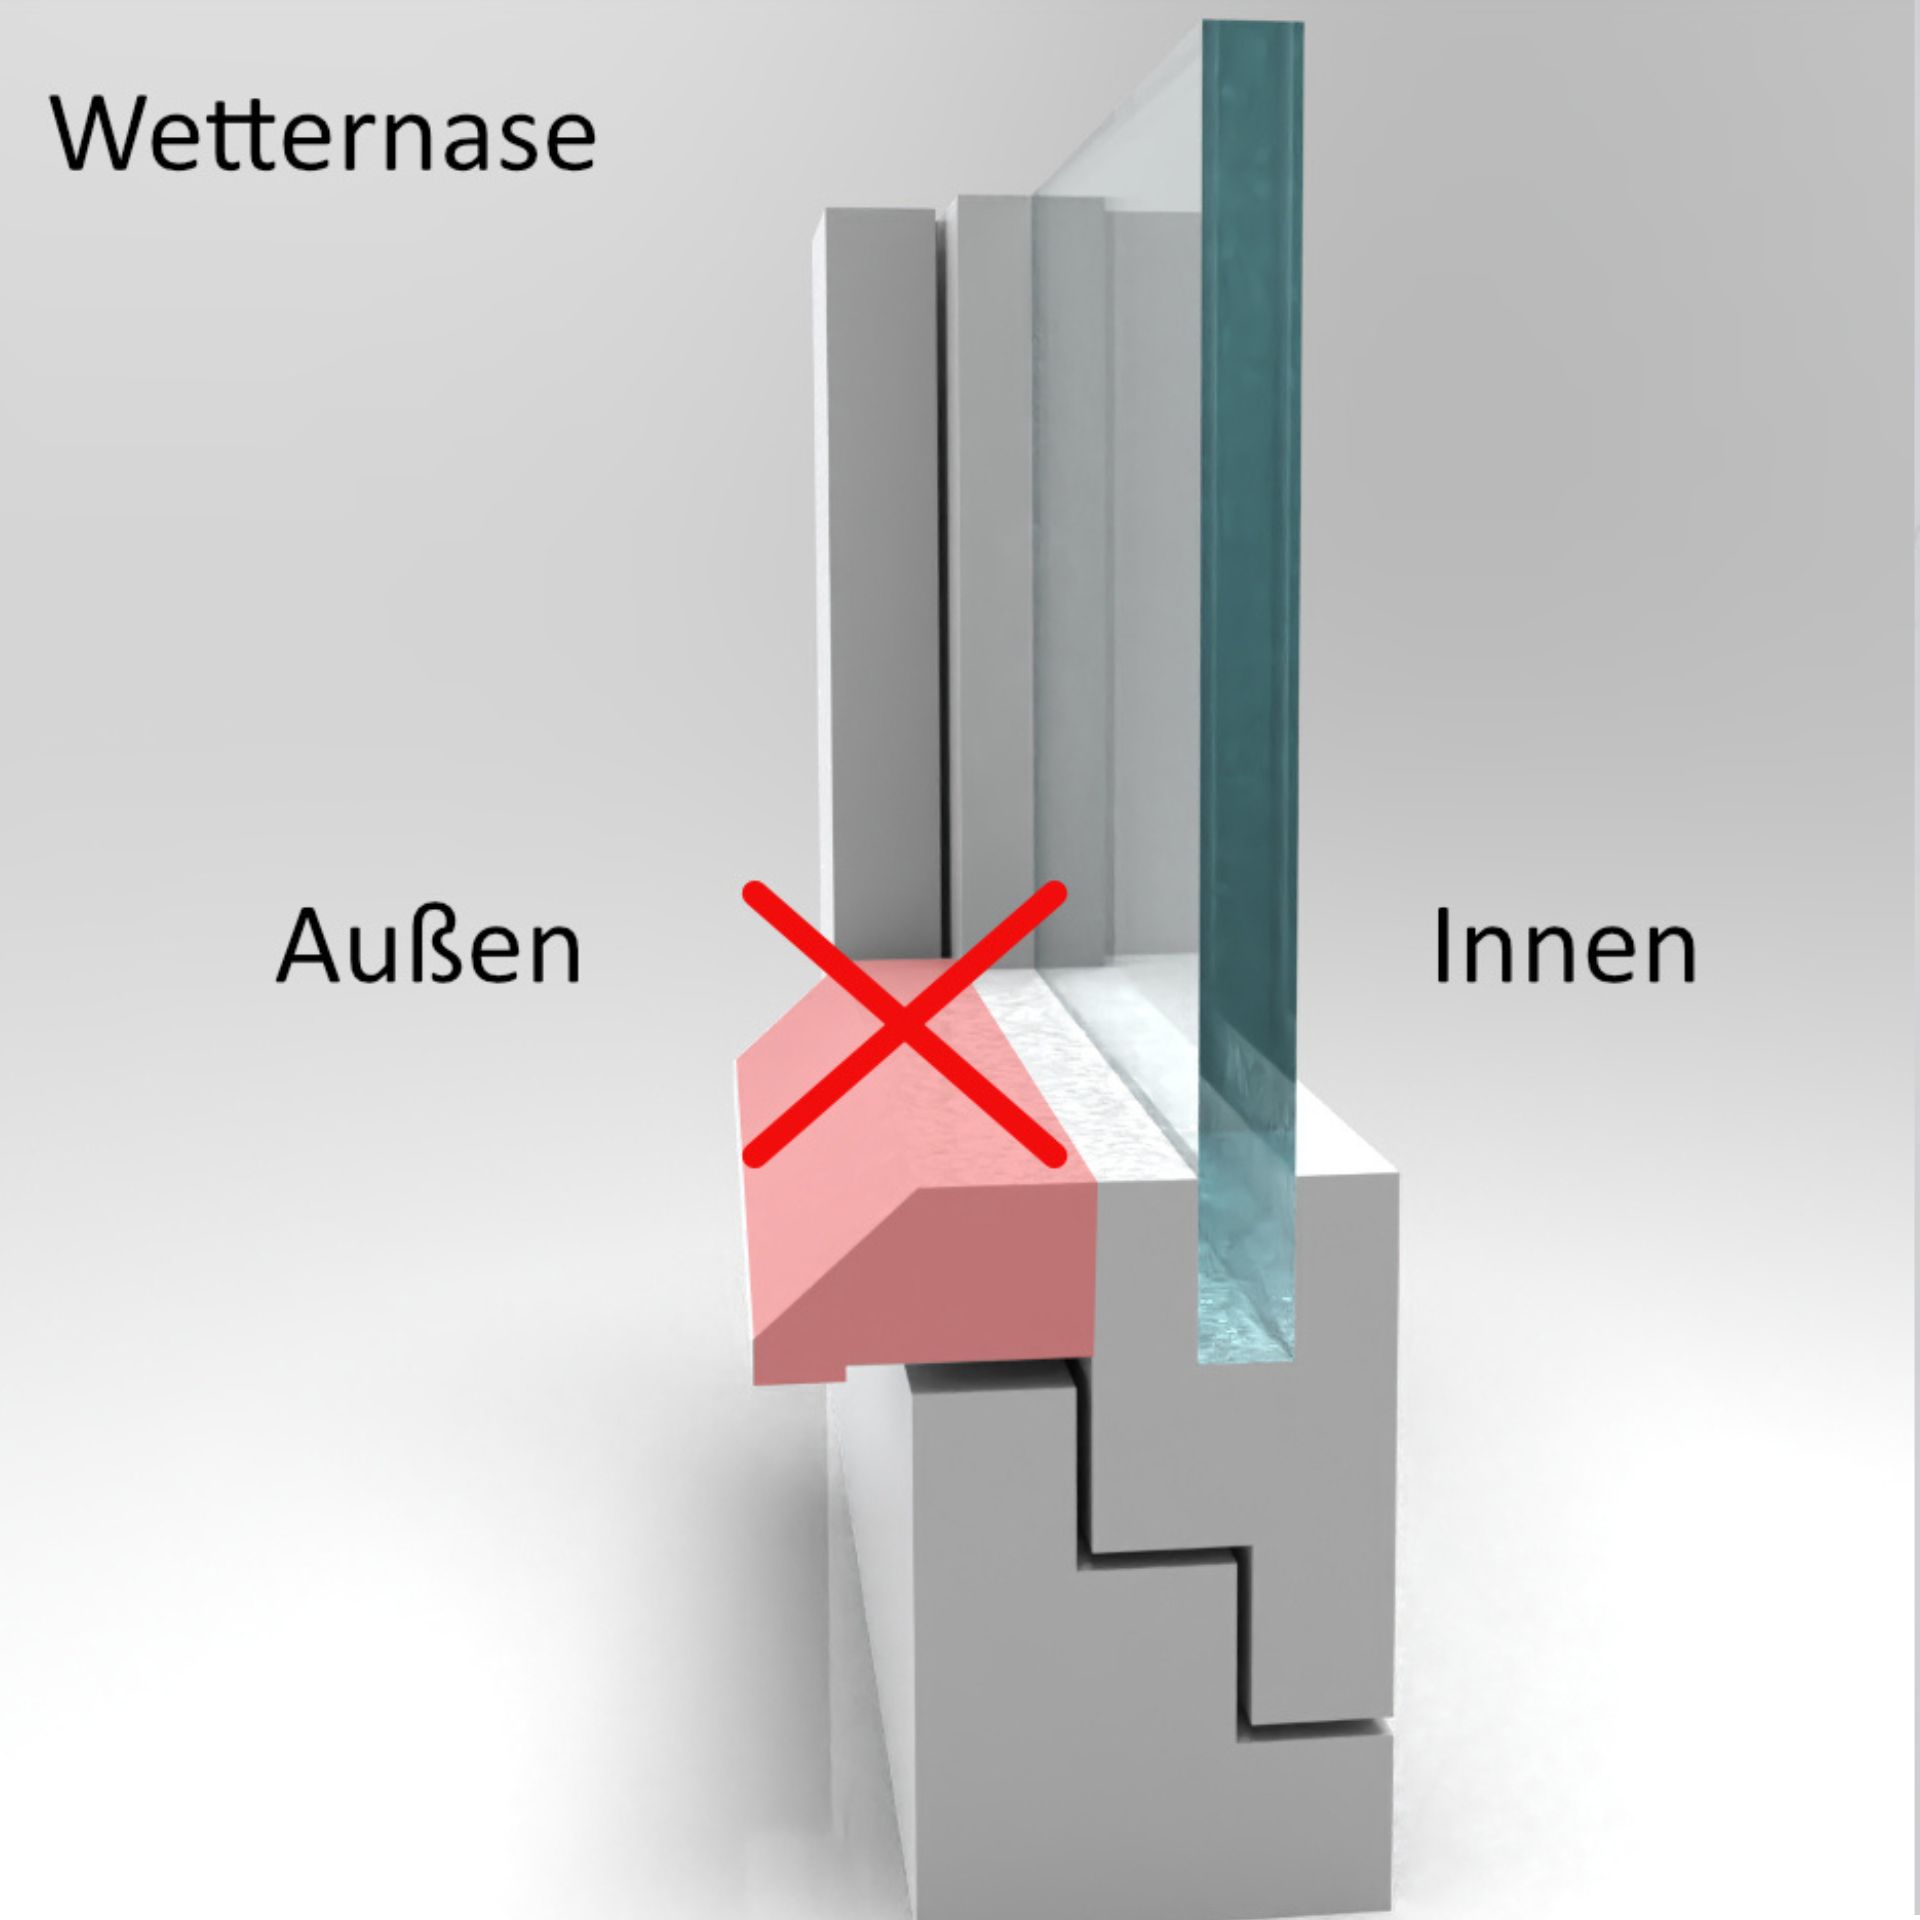
Windows where the sash protrudes outwards beyond the frame or closes flush with the frame (see picture gallery)
Pollen protection outside without drilling - it's that easy:
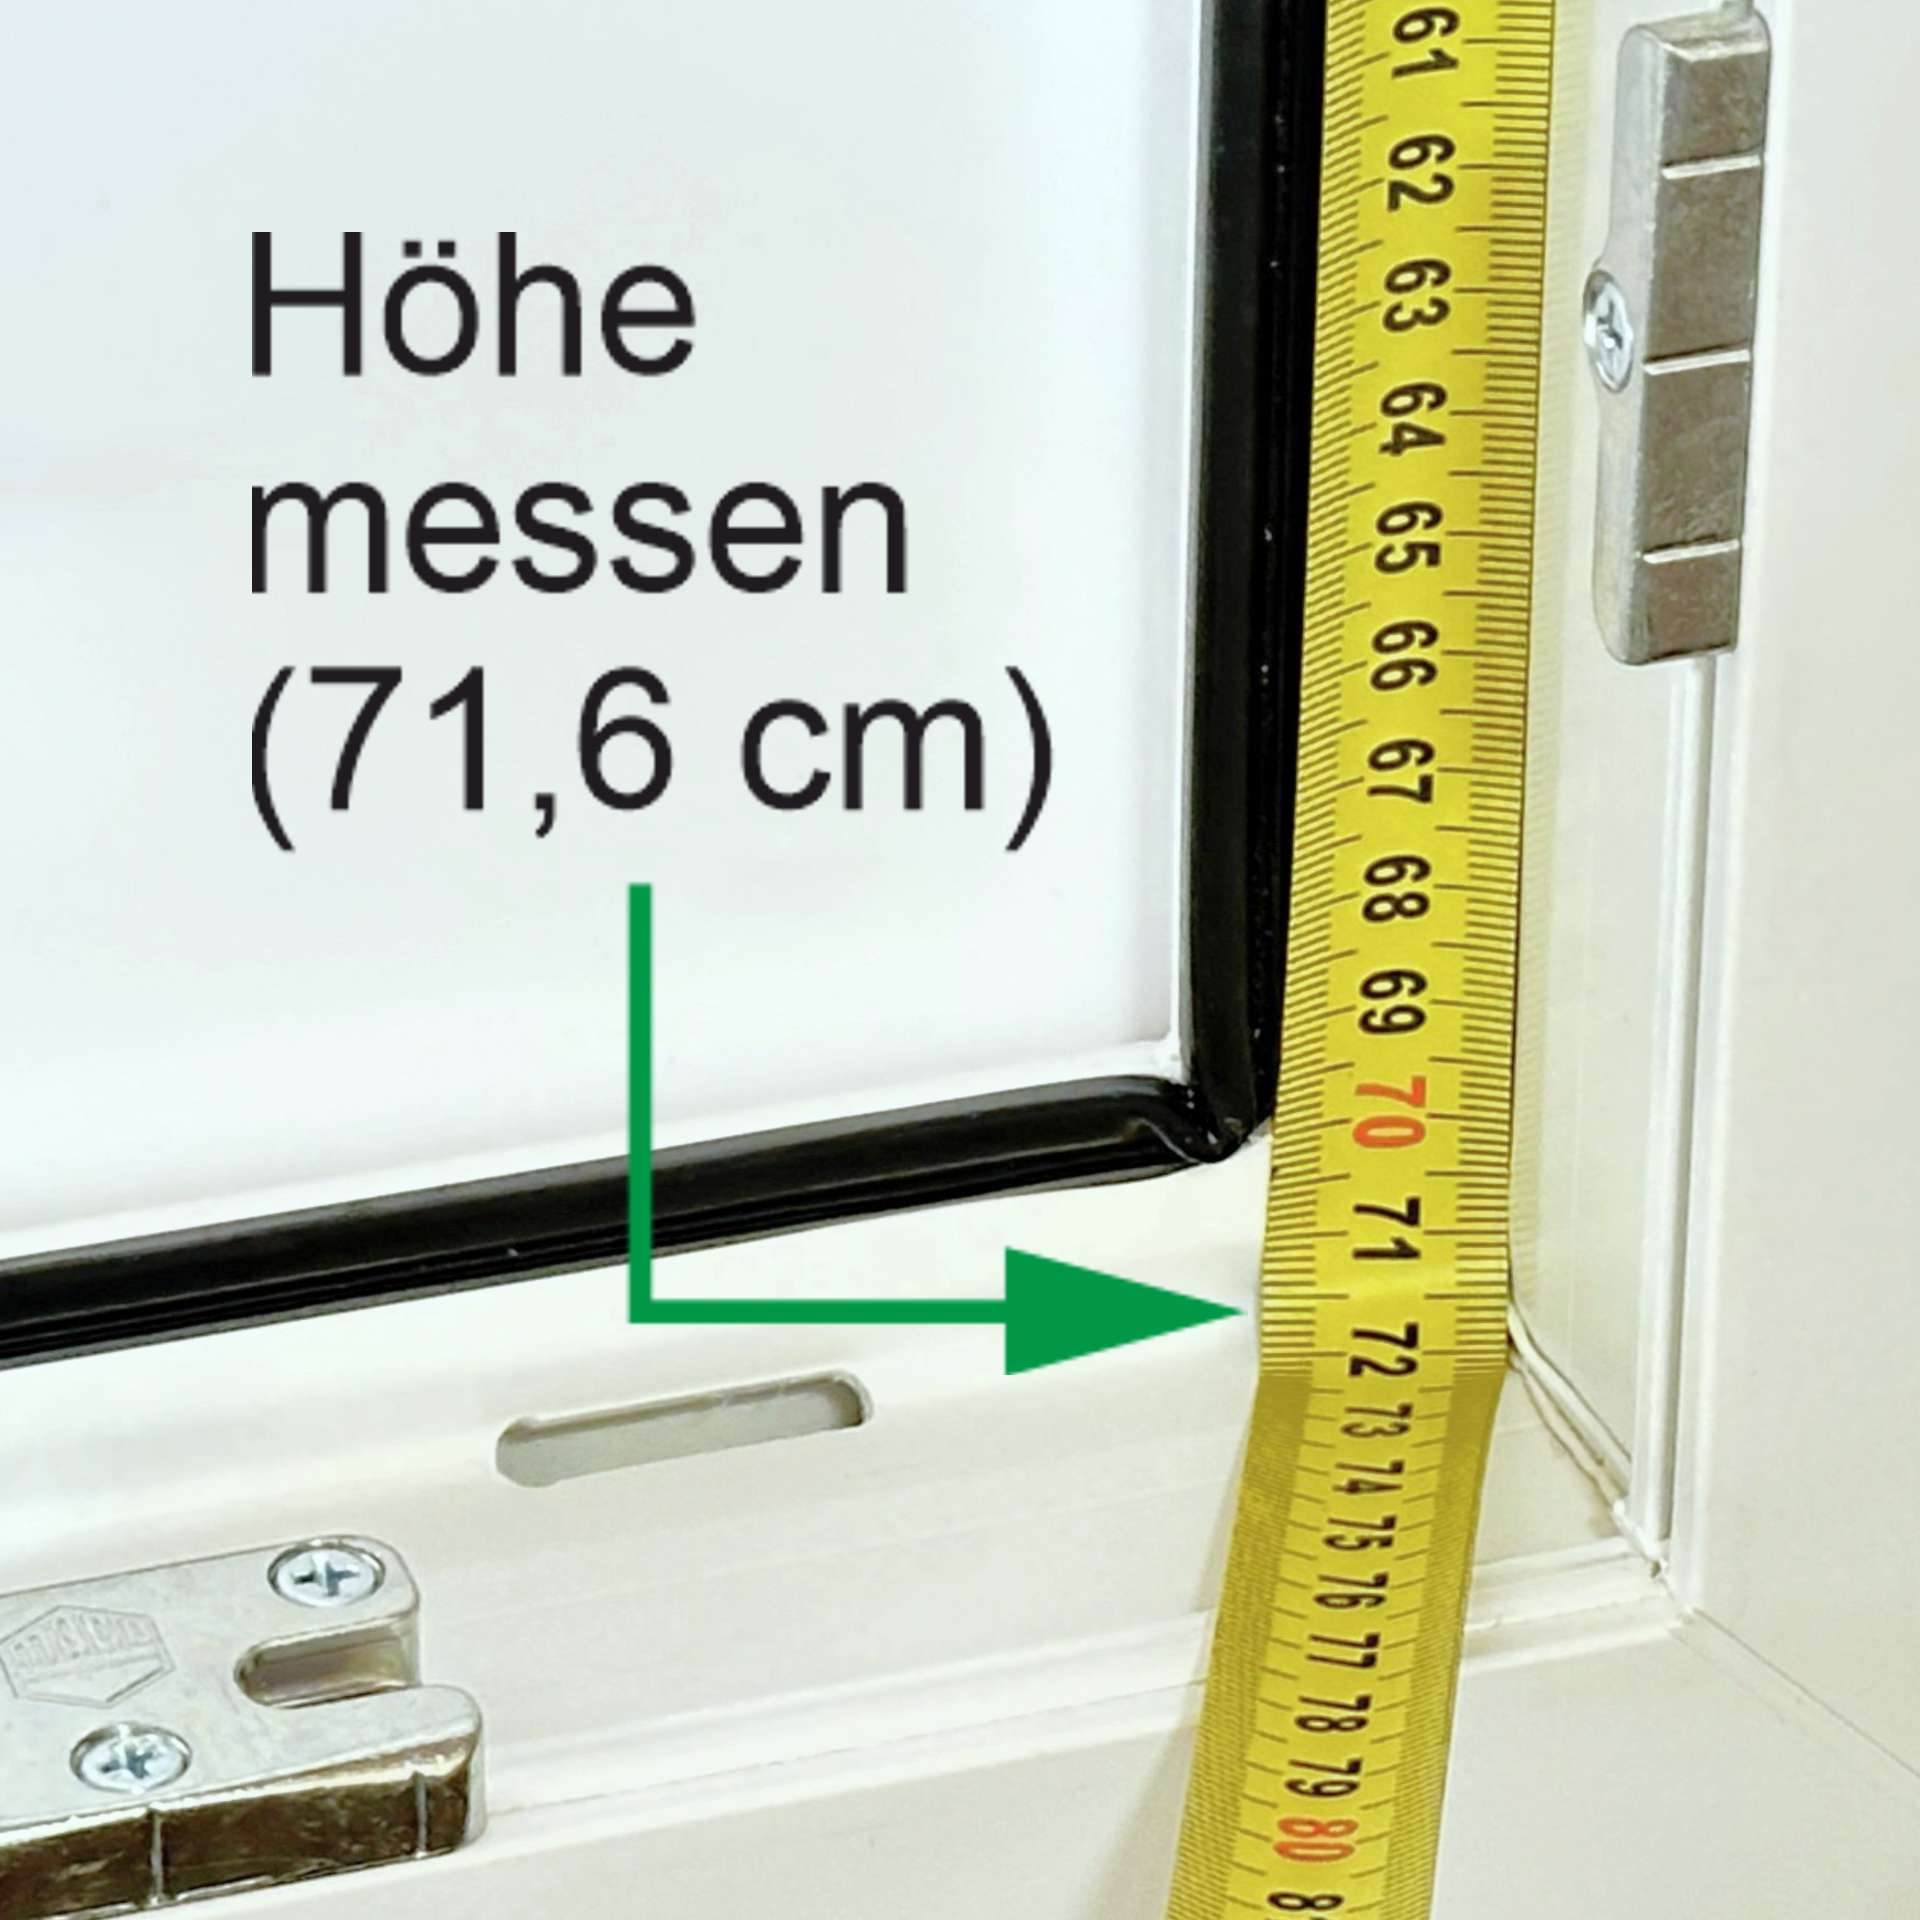
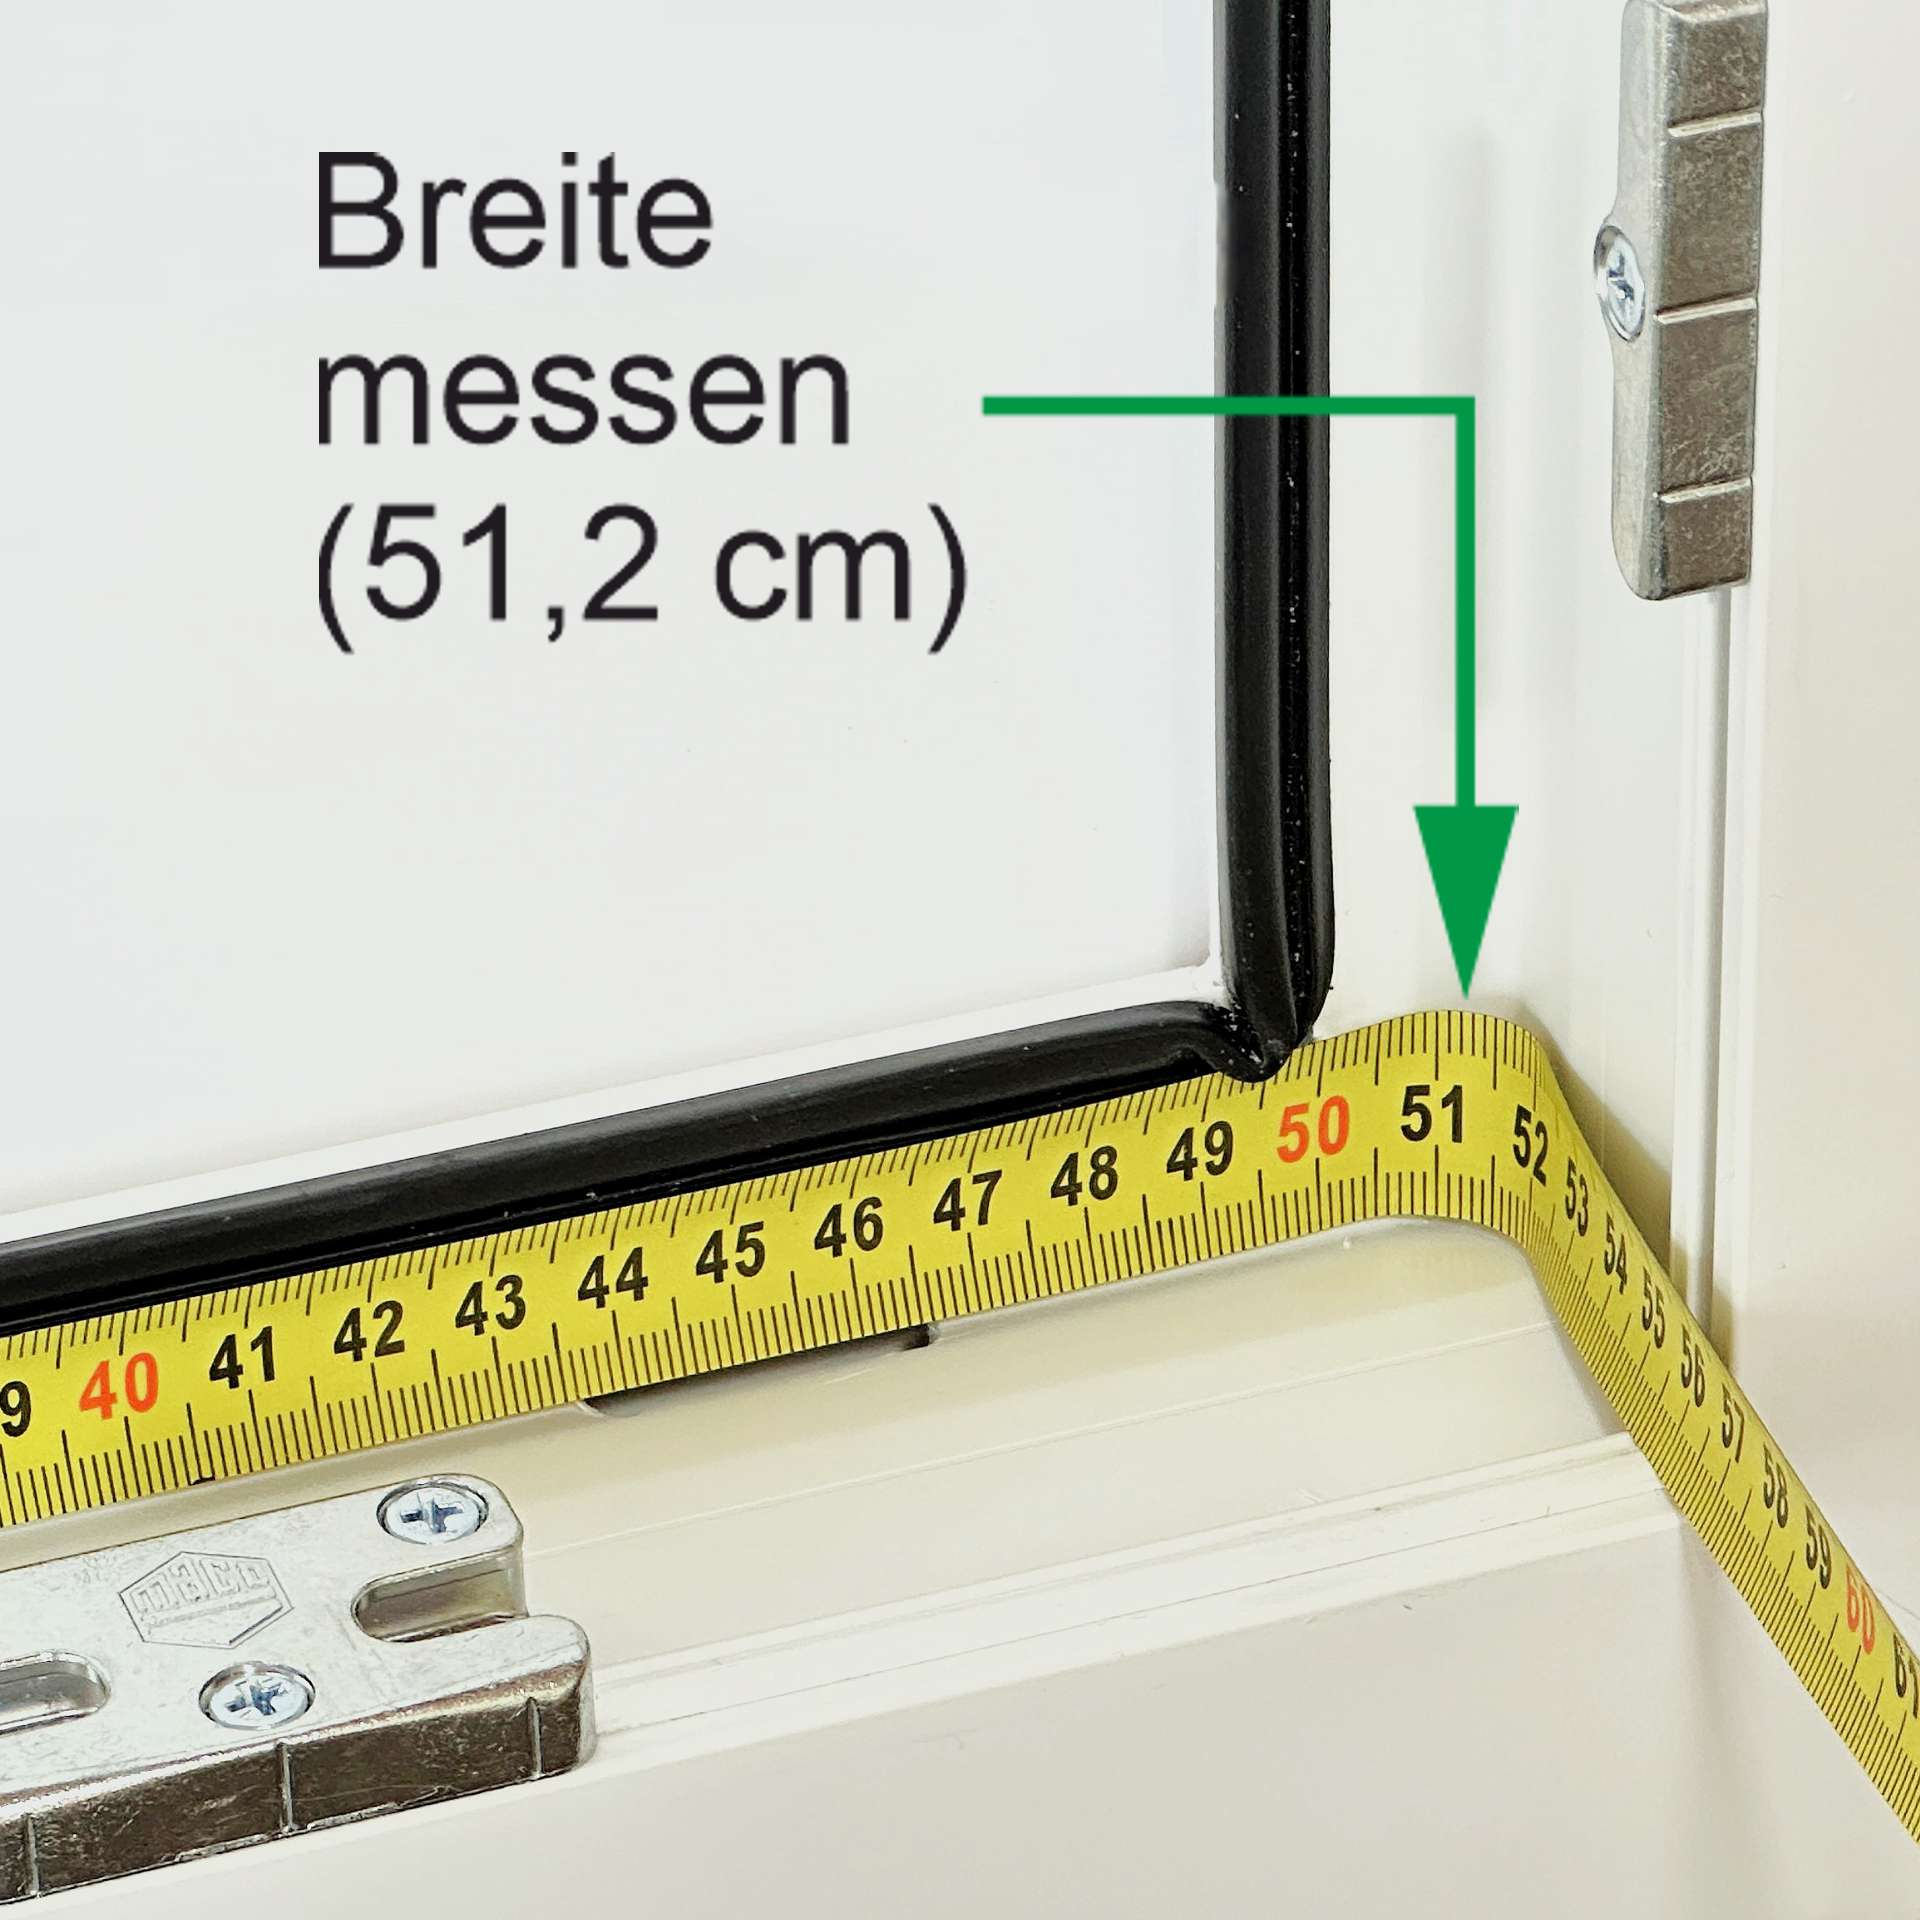
Use a standardised measuring tool, e.g. folding ruler or tape measure, to measure the full width and height (as close to the millimetre as possible) of the inside of the window frame. This enables us to manufacture the frame to fit you exactly. You can find the exact instructions for this in the sample images or the video. For windows with a rubber seal: please measure behind the rubber seal).
Enter your dimensions in the configurator width (W) x height (H). Example: 75.8cm x 130.2cm.
Order your desired dimensions to the desired delivery address.
If required: Cut the retaining clips to fit your window frame. Insert the pollen screen into your window frame from the inside (and insert the wire frame into the retaining clips).
Cleaning:
Remove the WinClip from the window frame. Dirt can easily be removed from the fabric with a damp cloth.
Please note: The manufacturing tolerance can be 5mm.
Your benefits with customised pollen protection:
- Fly screen & pollen screen 2in1
- Very high-quality material and production Made in Germany
- Insert the pollen screen in seconds
- No assembly necessary, we deliver the perfect fit!
- No tools are required
- Quick, residue-free removal - no adhesive residue in the window frame
- Best price-performance ratio
- Optimum pollen protection effect
- Reusable and therefore particularly environmentally friendly
- Cleaning in a short time
- Secure hold, even when the windows are fully open, thanks to the retaining clips supplied